Creating a Repeating Pattern with a Scanned Image

Requirements: Adobe Photoshop

Difficulty: Medium

Time: Varies
Step 1.
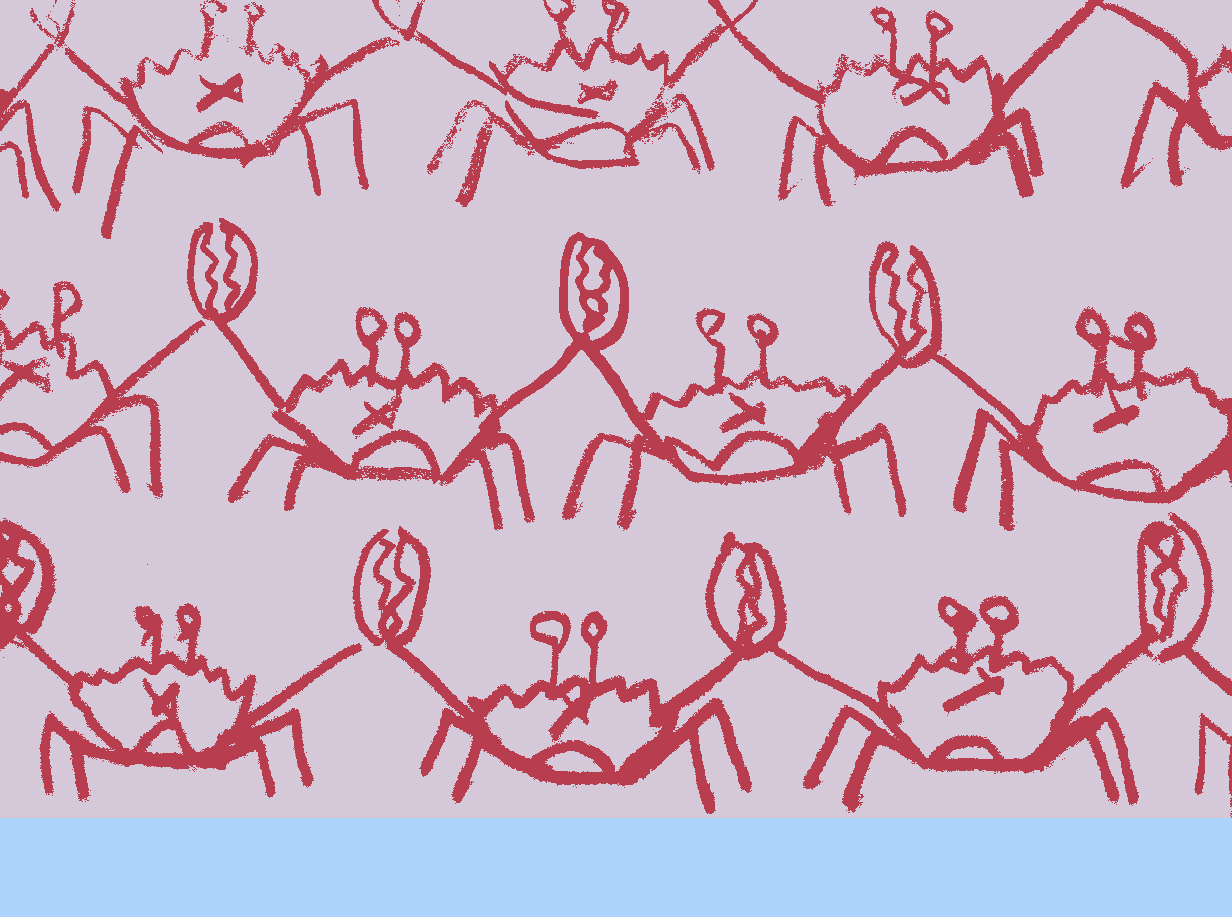
After loading your color palette, color reducing, & cleaning your image (See tutorial “Cleaning a Scanned Drawing or Image” for all of these steps), open your file and set your canvas size to the correct file size requirements for either the Divan or Talma Quality, if you haven’t done so already. Make sure you are still working in Indexed Color Mode (Image > Mode > Indexed Color) with your choice of WOVNS Color Palette loaded. For this tutorial I have set my Canvas Size to 2400 x 6372 ppi to accommodate the Divan Quality. I have also previously scaled and cropped my image size (Image > Image Size) to be 2400 pixels wide at 177 dpi.
Step 2.
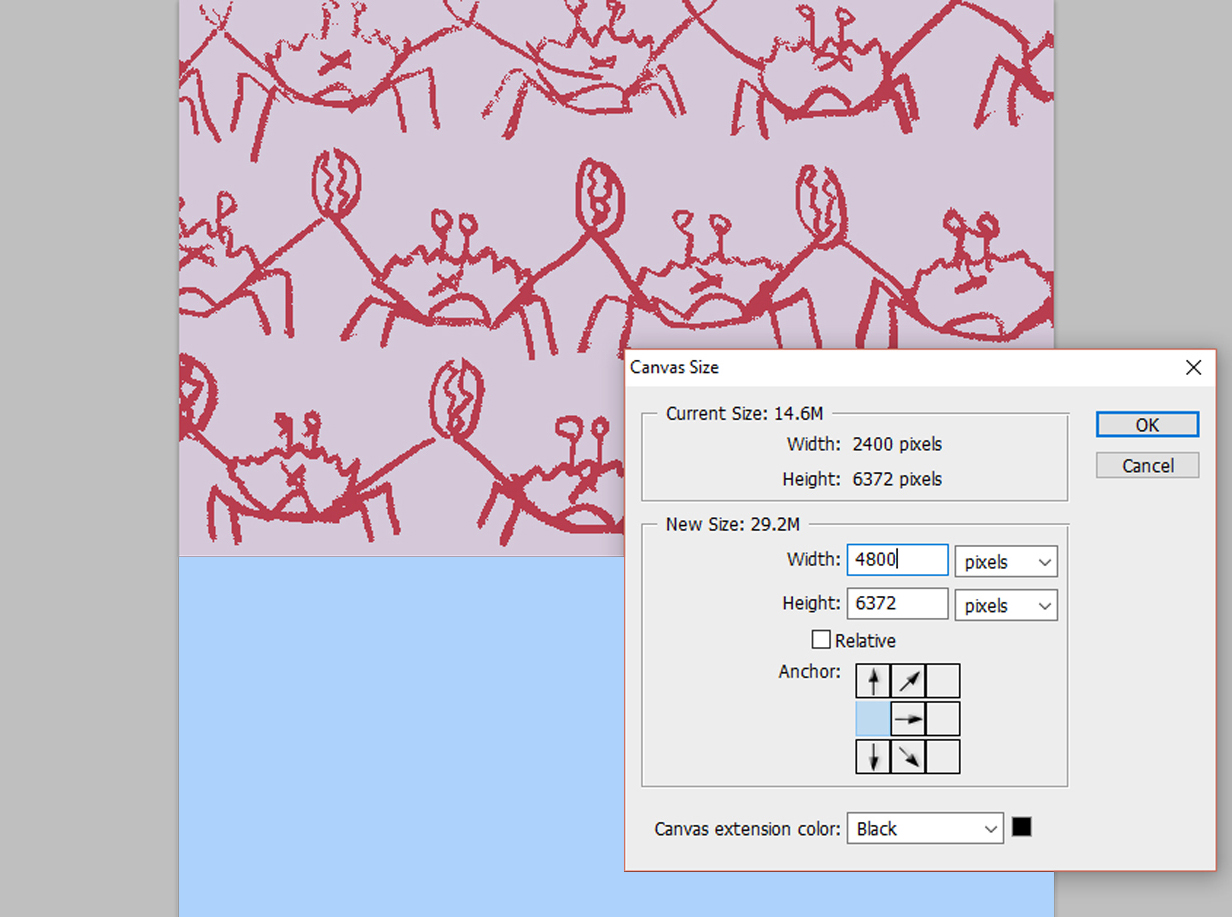
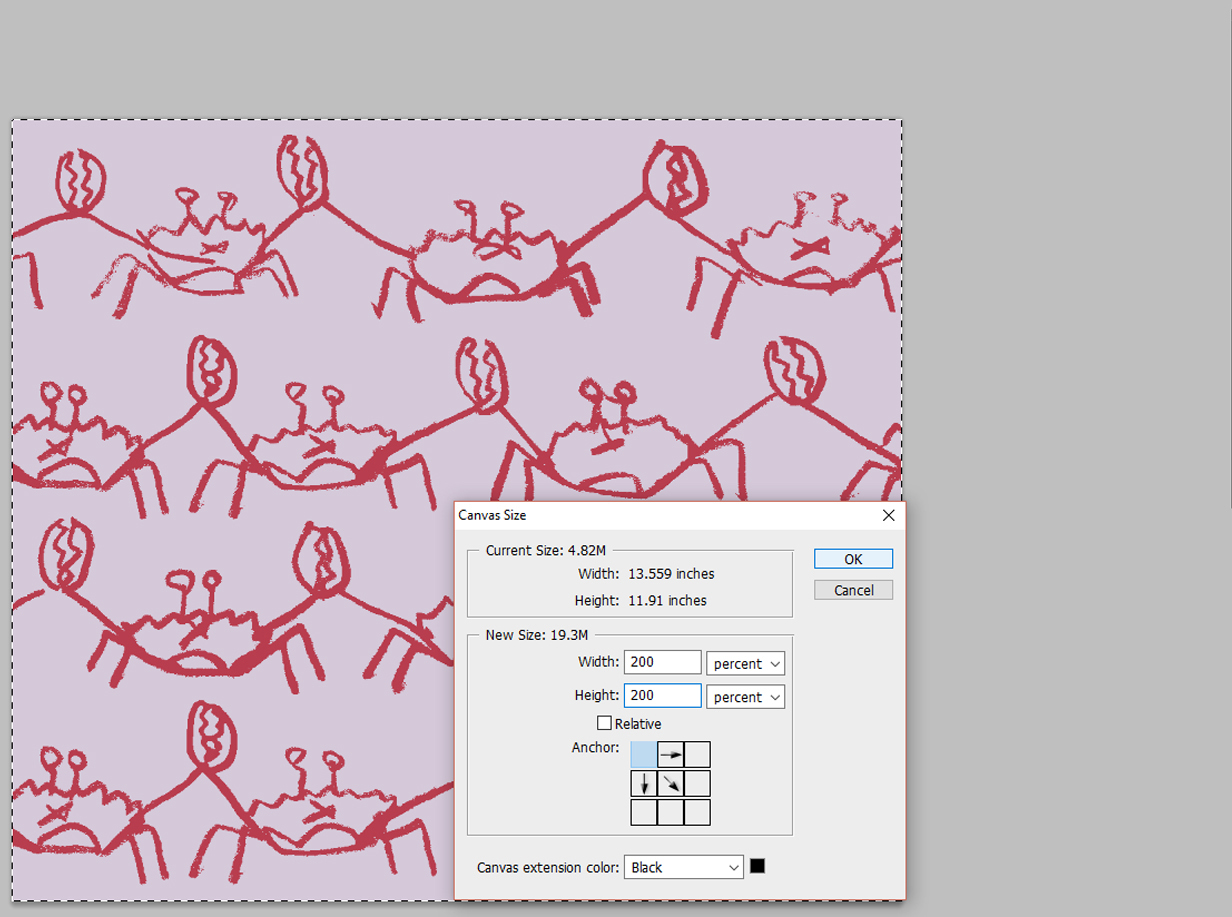
Next, you will want to increase your canvas size (Image > Canvas Size) so you will have room to resolve the edges of your image, which will become your repeating tile. To accomplish this, anchor your image to one side and increase your canvas width (Image > Canvas Size) by 200%.
Step 2b.

Shown above, I have increased my canvas width from 2400 to 4800 pixels wide.
Step 3.
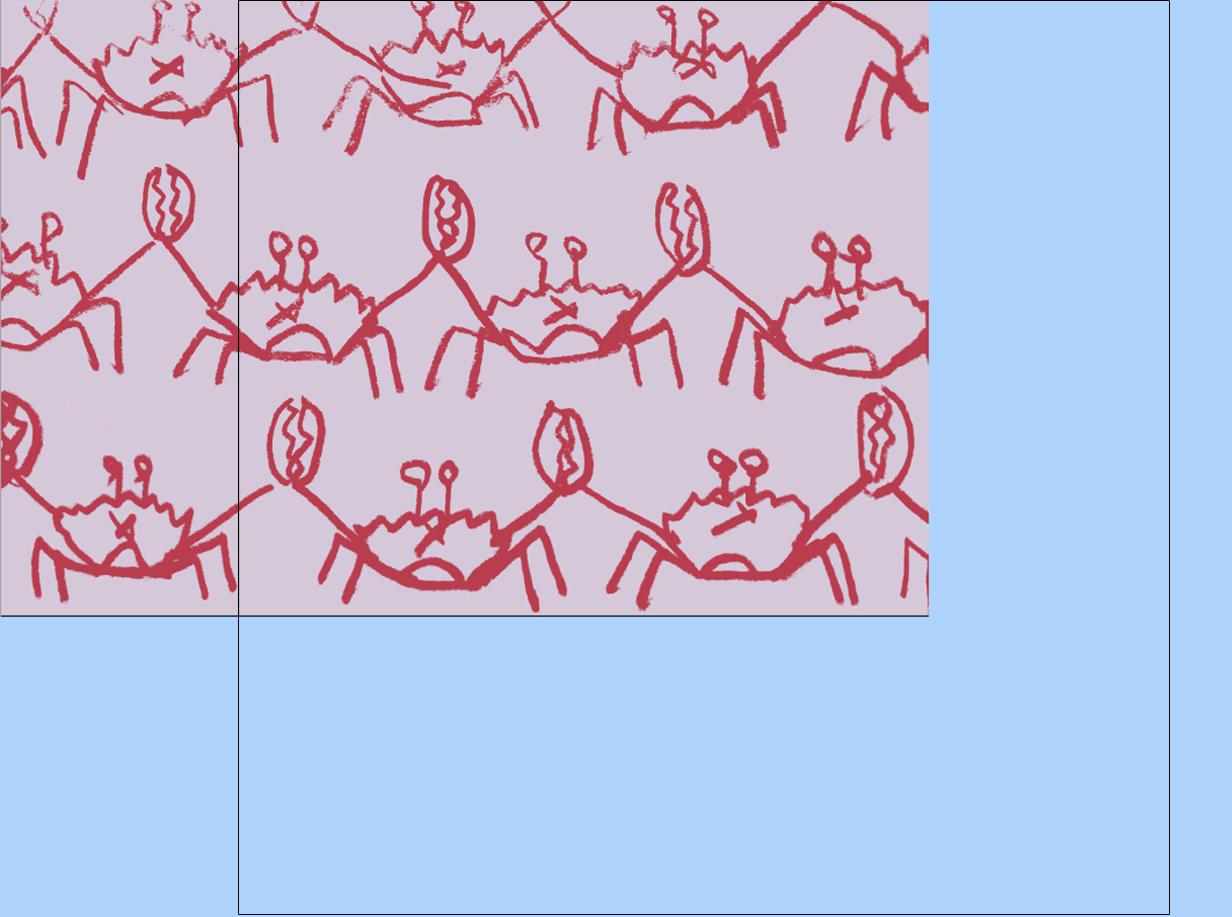
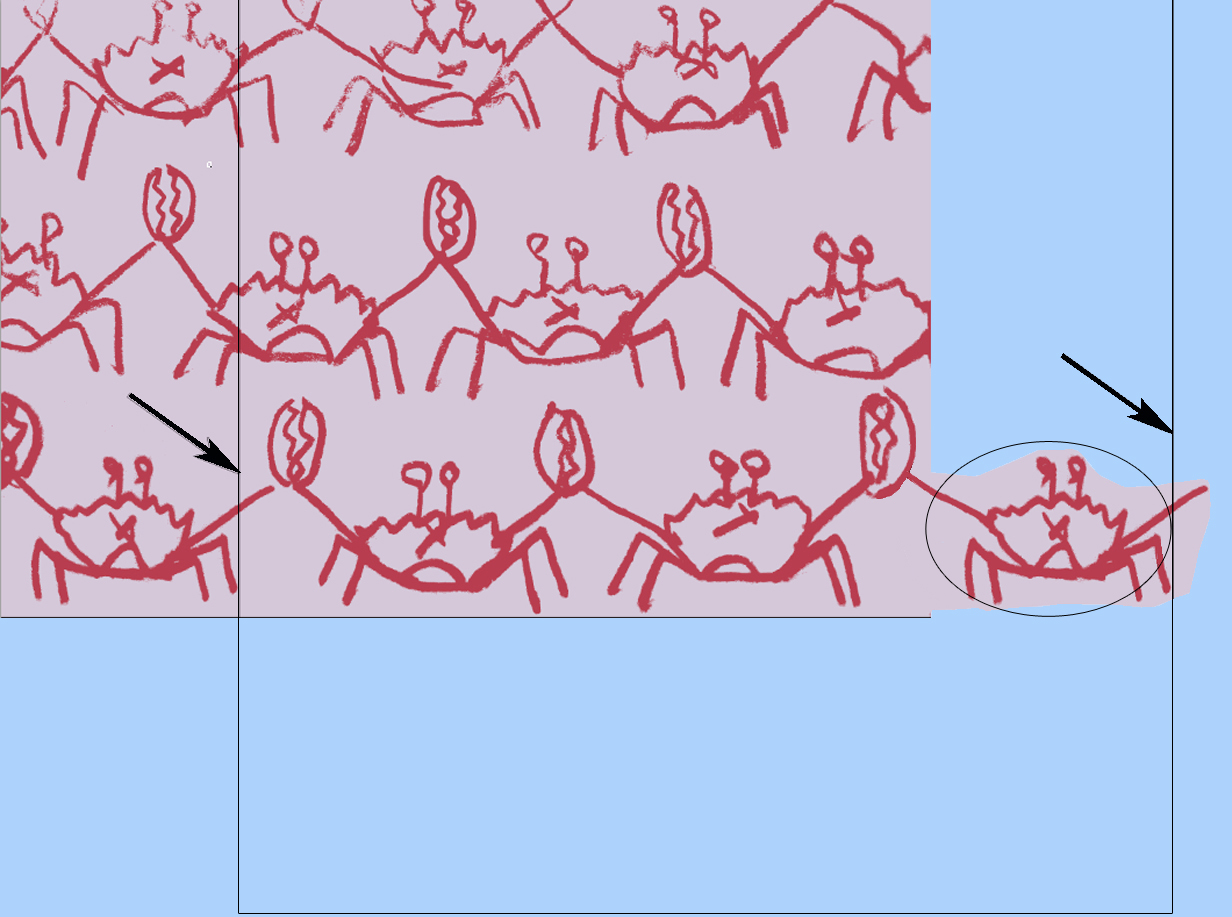
Now that you have increased your working area, you can begin to resolve your repeating tile. A good way to think about creating a repeat is that you have one tile (seen as the black box above) that must be filled in and the edges resolved. Motifs occurring in the center of your tile can be placed anywhere inside the frame and will repeat seamlessly (so long as they are not touching the edges of the tile or are cut off). Motifs that intersect with the border of your tile require more attention. To create your tile draw a box by activating your Rectangle Tool and selecting the Paths Tool (Window > Paths).
Step 4.
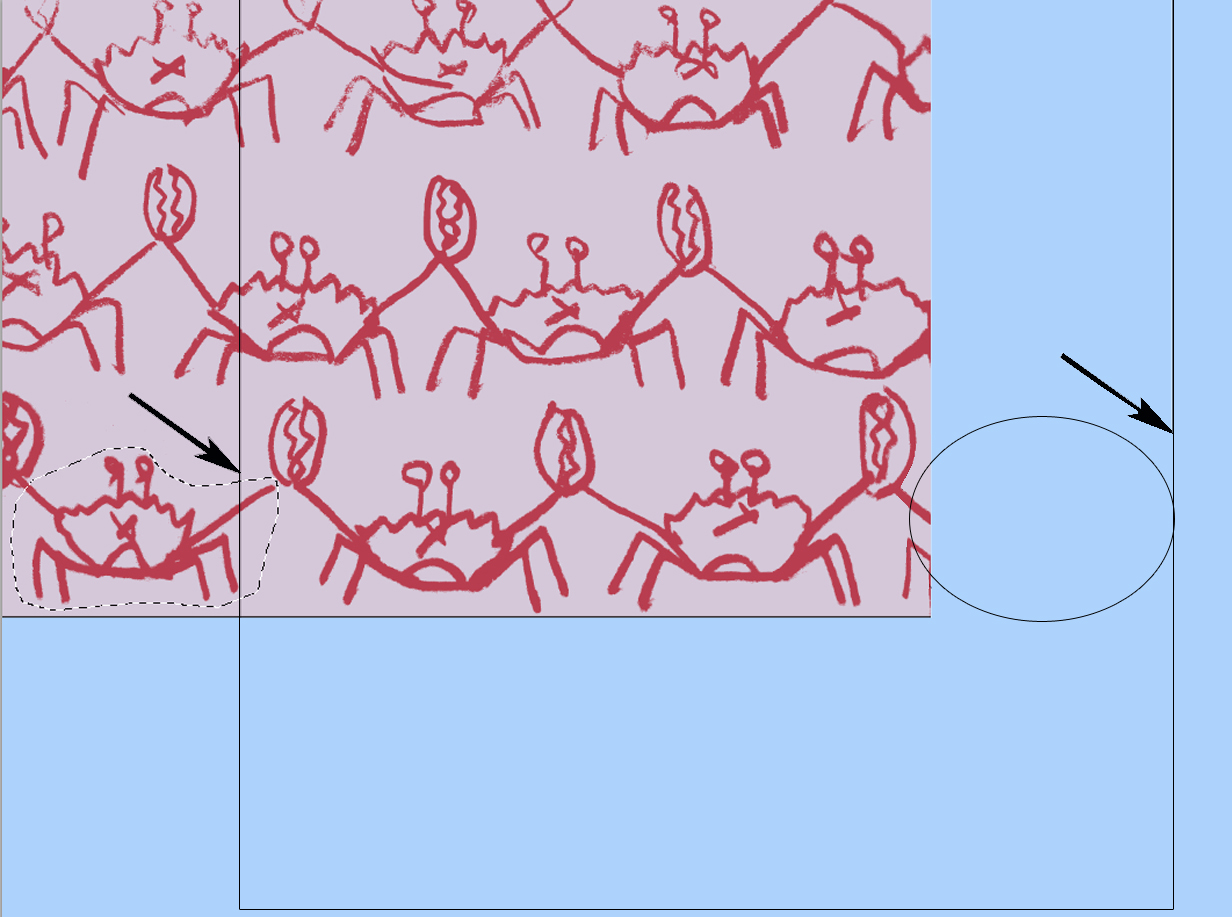
The general rule for resolving your edge motifs is that any motif that occurs on the outside of the left edge, must also occur on the inside of the right edge. Similarly, any motif occurring on the inside of the left edge, must also occur on the outside of the right edge. The same applies to the top and bottom edges. To accomplish this, select a motif, copy, paste, then hit shift and drag it in a straight line the exact distance (width) of your repeat. For example if your repeating tile is 2400 pixels wide (13.5″), move your copied motif over 13.5″, as shown above and in Step 4b.
Step 4b.
Step 5.
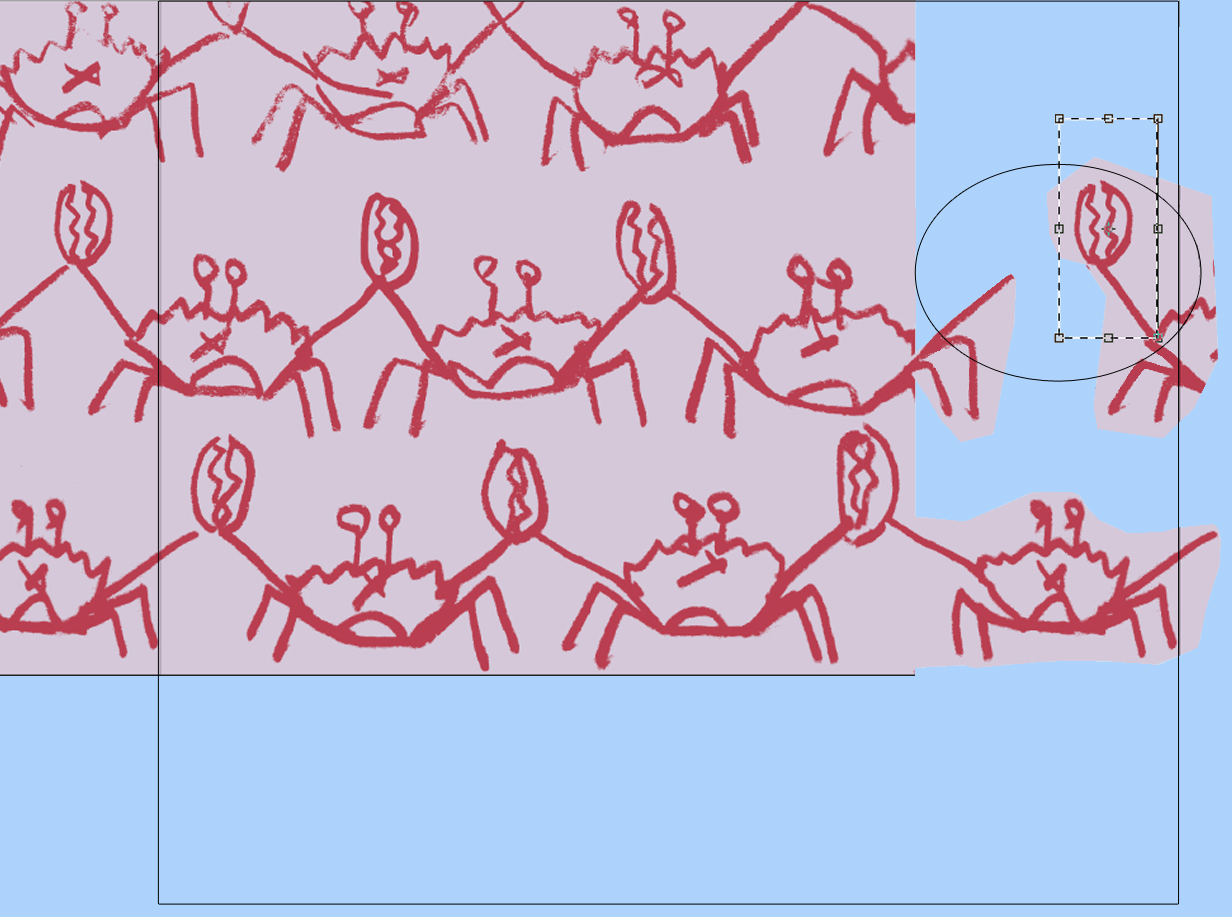
After you have copied and moved your motifs over, you may have to do some tweaking of your motifs so that they continue seamlessly. Using the Rectangular Marquee Tool, select the areas of the motif that need to be moved or adjusted. Then hit Control (or Command) “T” to activate the Free Transform Tool, which allows you to scale or rotate the selected element.
Step 5b.
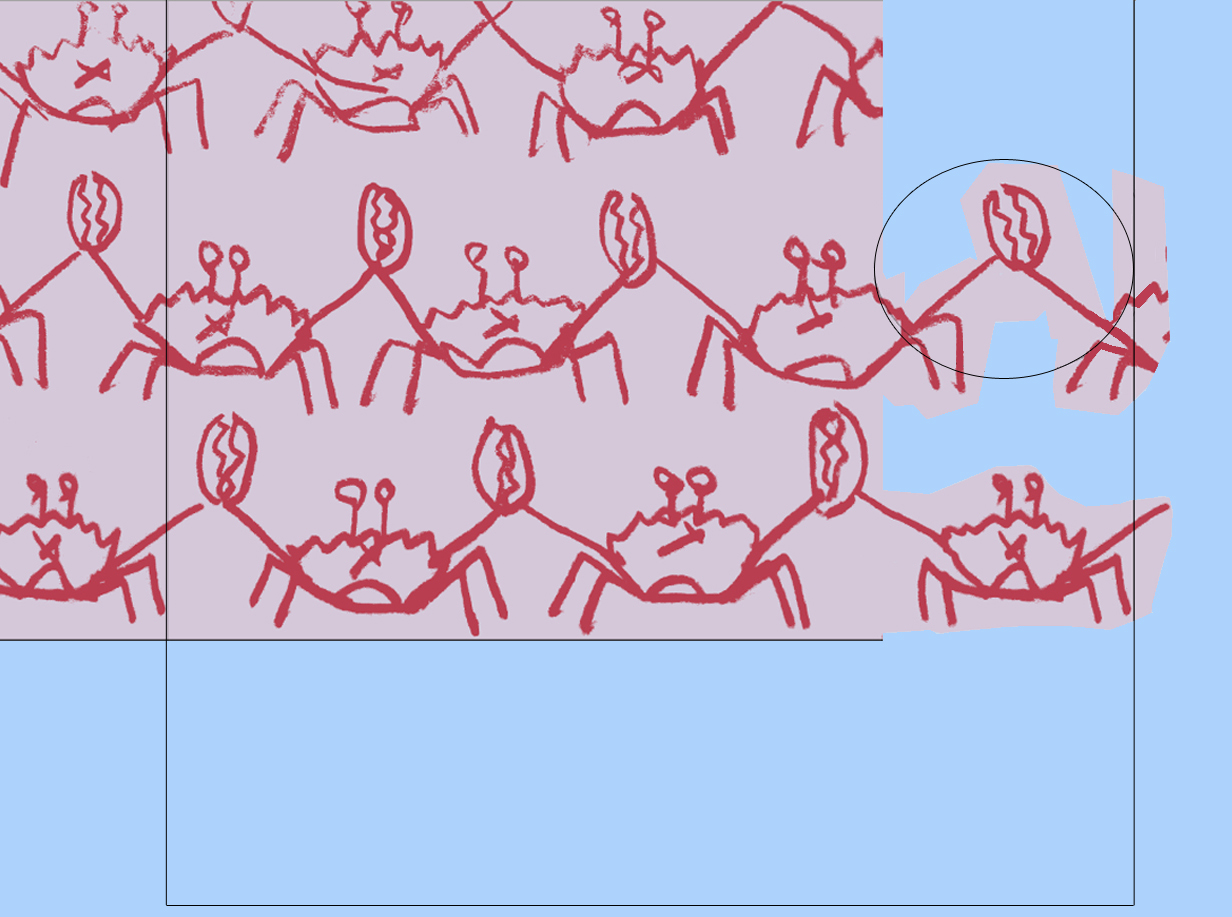
Step 6.
Once all 4 sides of your tile are resolved, crop it at the box’s edges and then scale it to fit evenly when repeated in your final file size. Here I have scaled my tile to be 2400 wide x 2124 pixels high (13.5″ W x 12″ H), so it will ultimately repeat once across the width of my canvas and three times in the vertical direction.
Step 7.
With your tile now scaled, you will want to test it to make sure your repeat will be seamless. Select your entire image and hit Copy (Edit > Copy). Then scale your canvas size 200% while anchoring your image to the top left corner.
Step 7b.
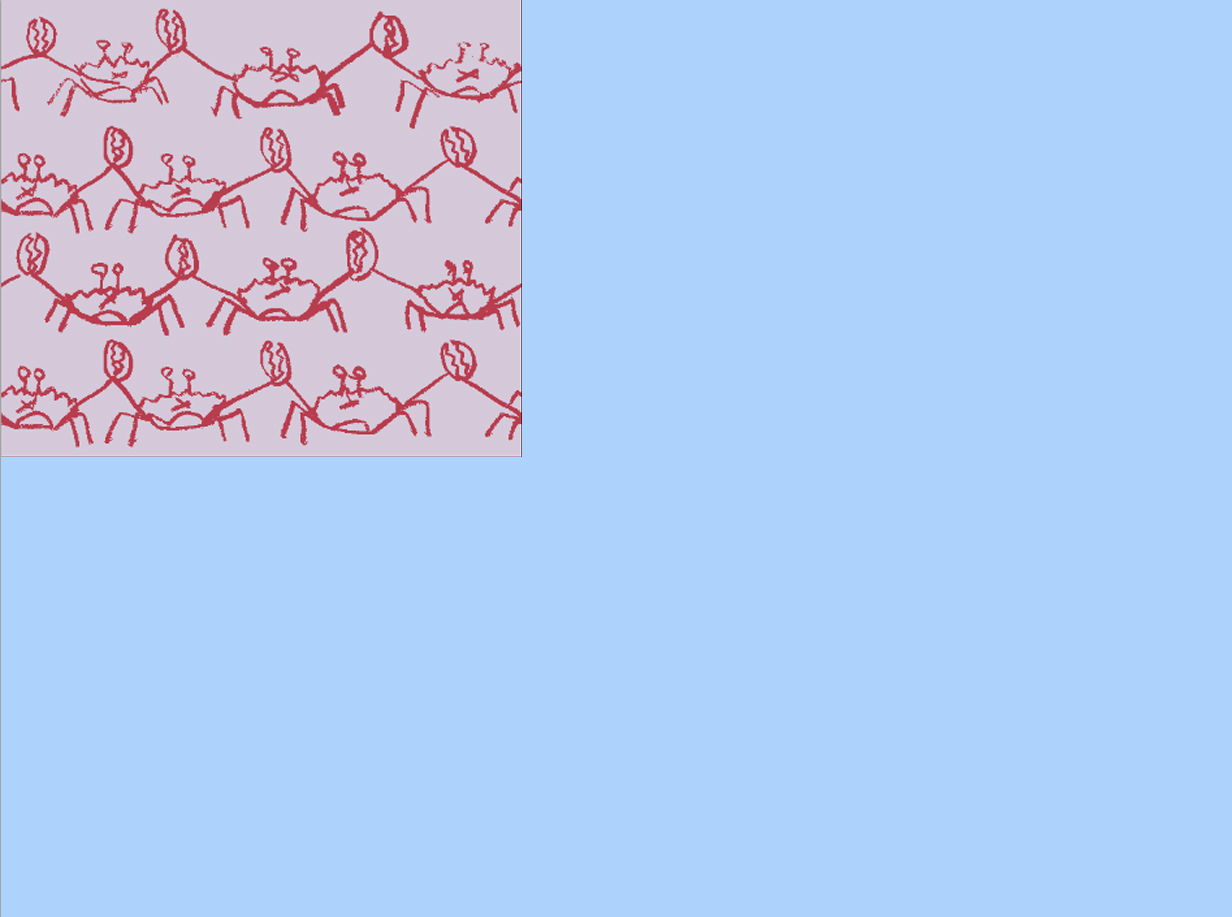
Step 8.
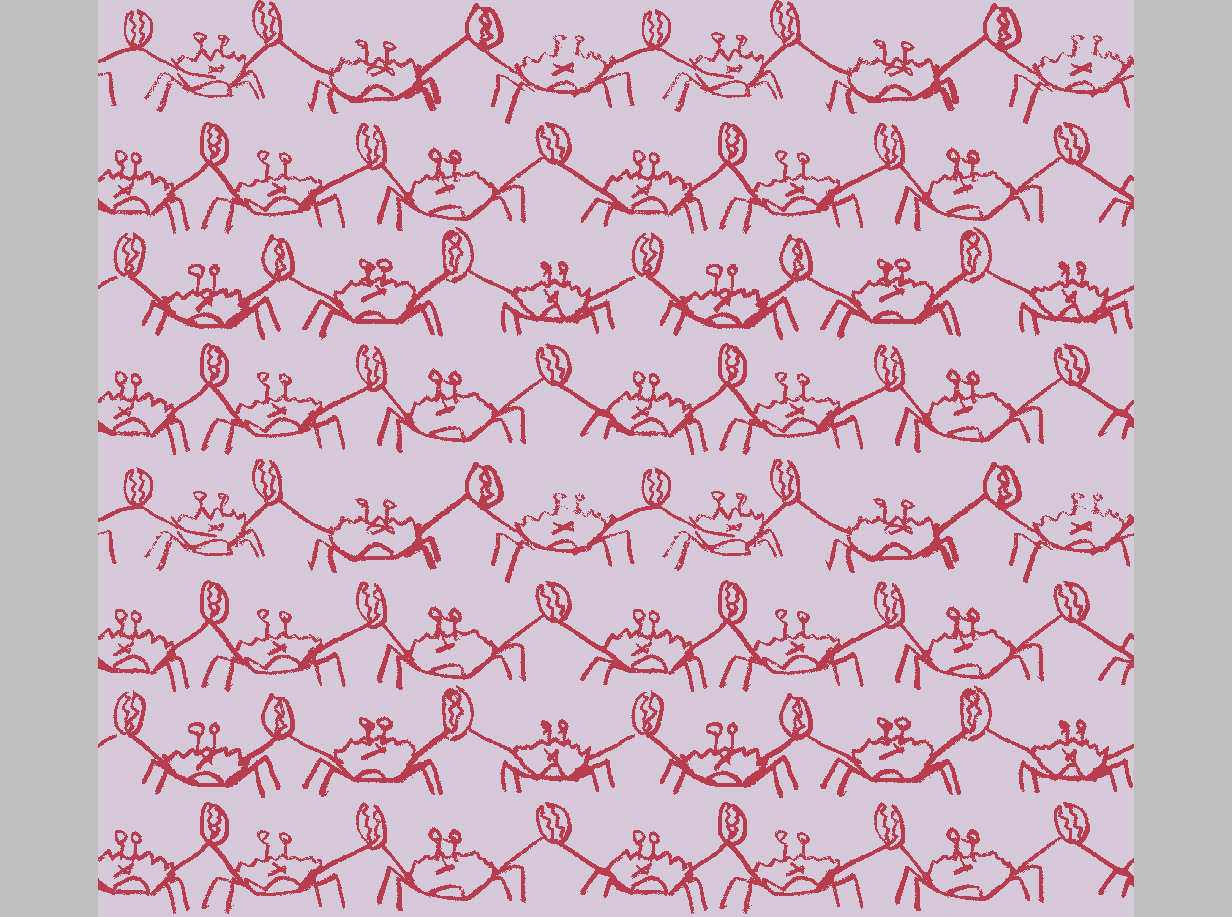
Proceed to paste (Edit > Paste) your tile over and down within the canvas and check that your seams are flawless.
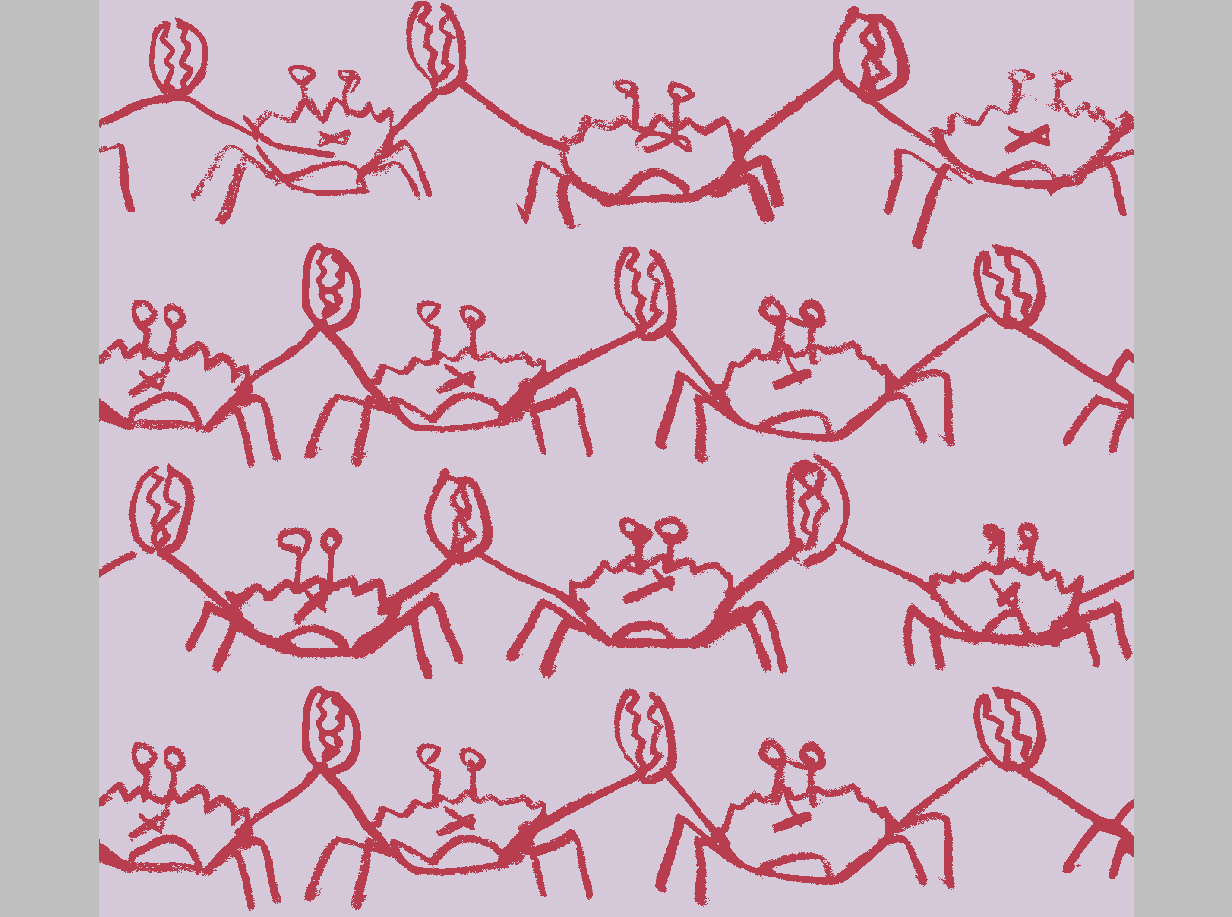
Step 9.
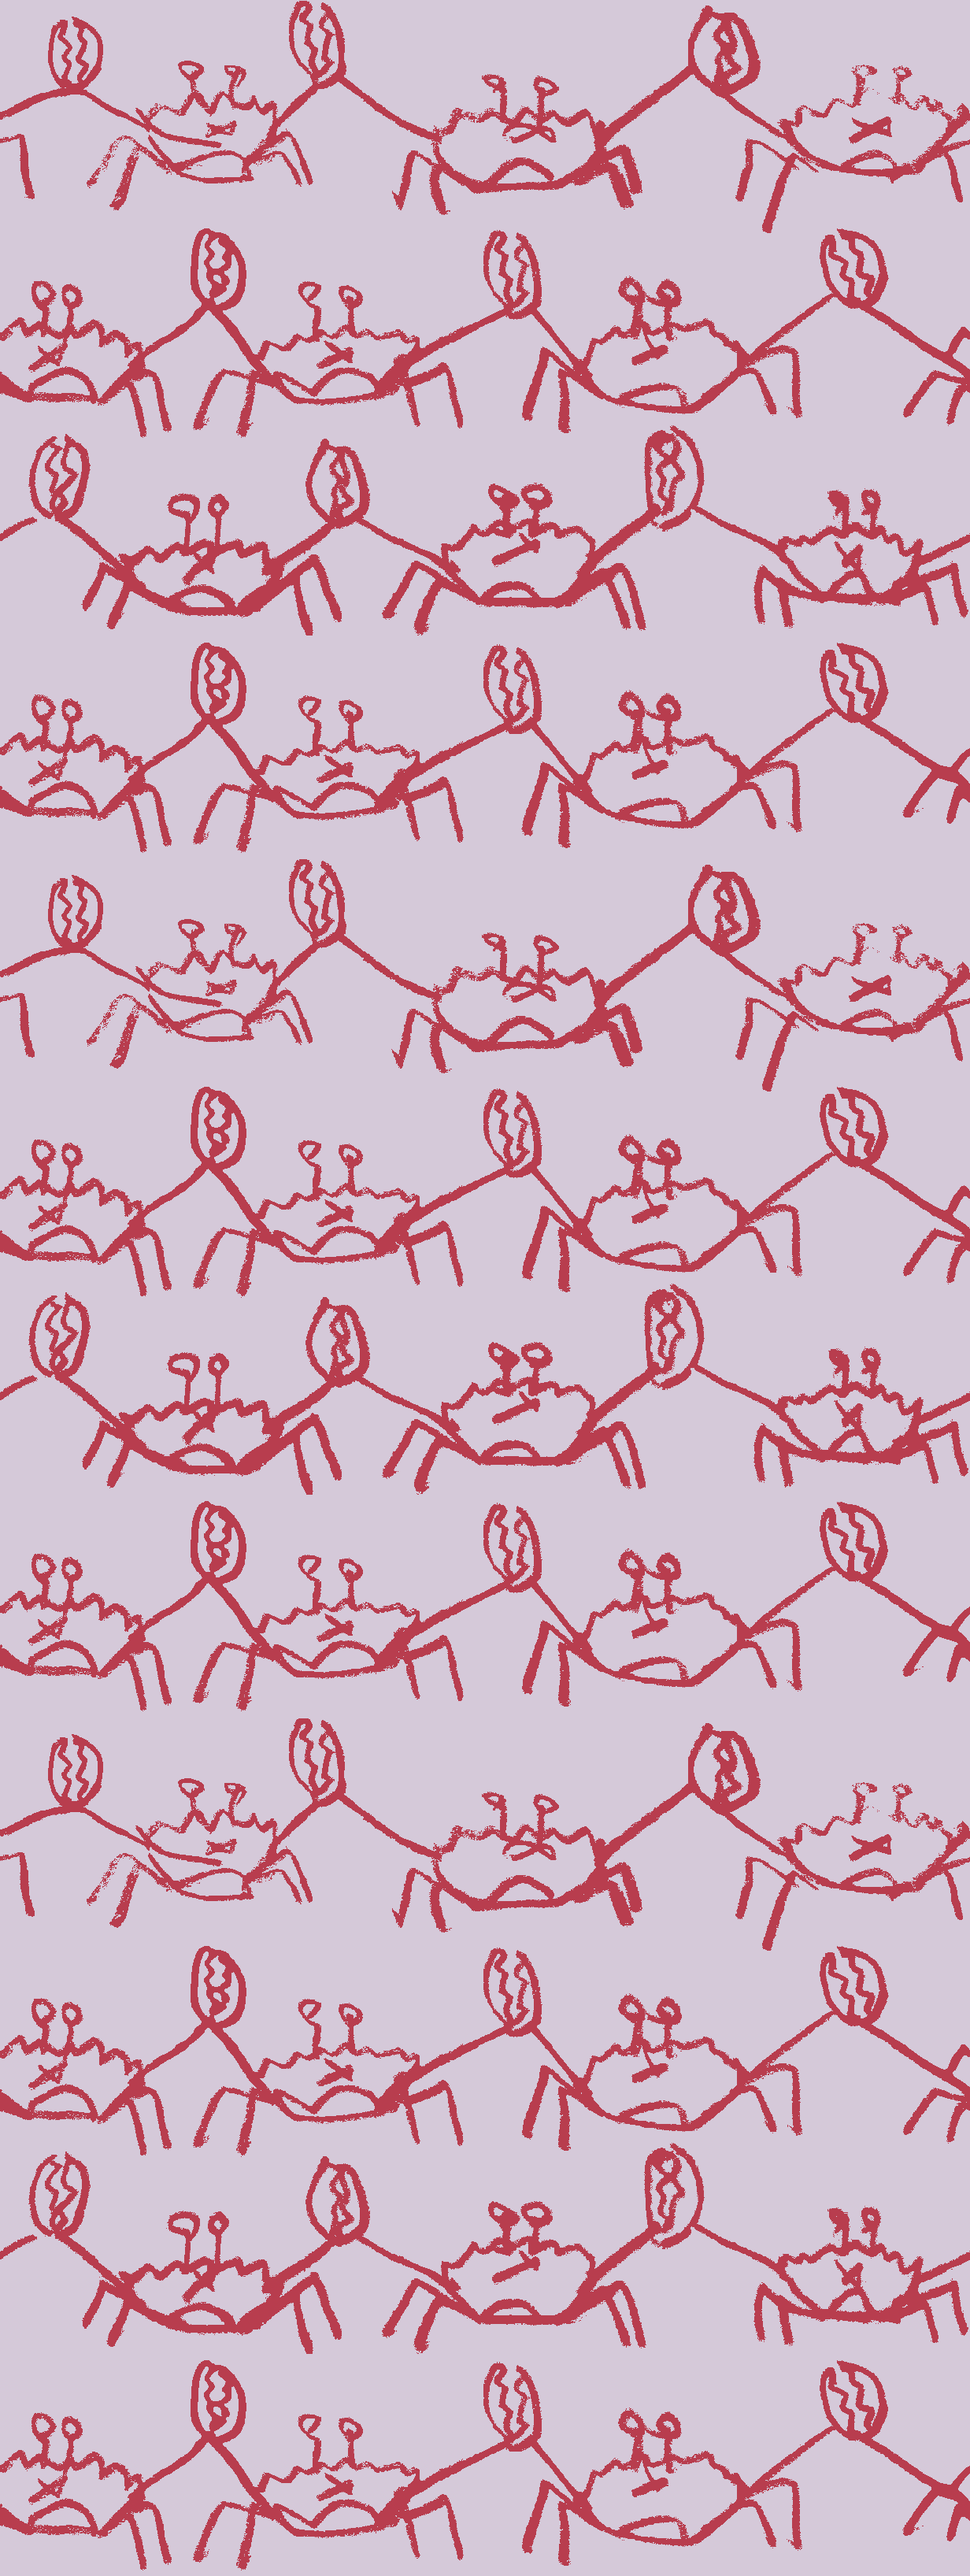
Once satisfied, you may set your canvas back to it’s final size (in this case 2400 x 6372 pixels for the Divan Quality) and repeat your tile to fill the entire space. Shown above is what the final file would look like. NOTE: For the Divan Quality, the imagery as shown in your final (2400 w x 6372 h) file will repeat 4 times across the width of the actual fabric once produced. For the Talma Quality, the imagery as shown in the final (3984 w x 3000 h) file will repeat only once across the fabric width.