Designing with WOVNS Color Palettes in Photoshop

Requirements: Adobe Photoshop

Difficulty: Easy

Time: 10 Minutes
Step 1.
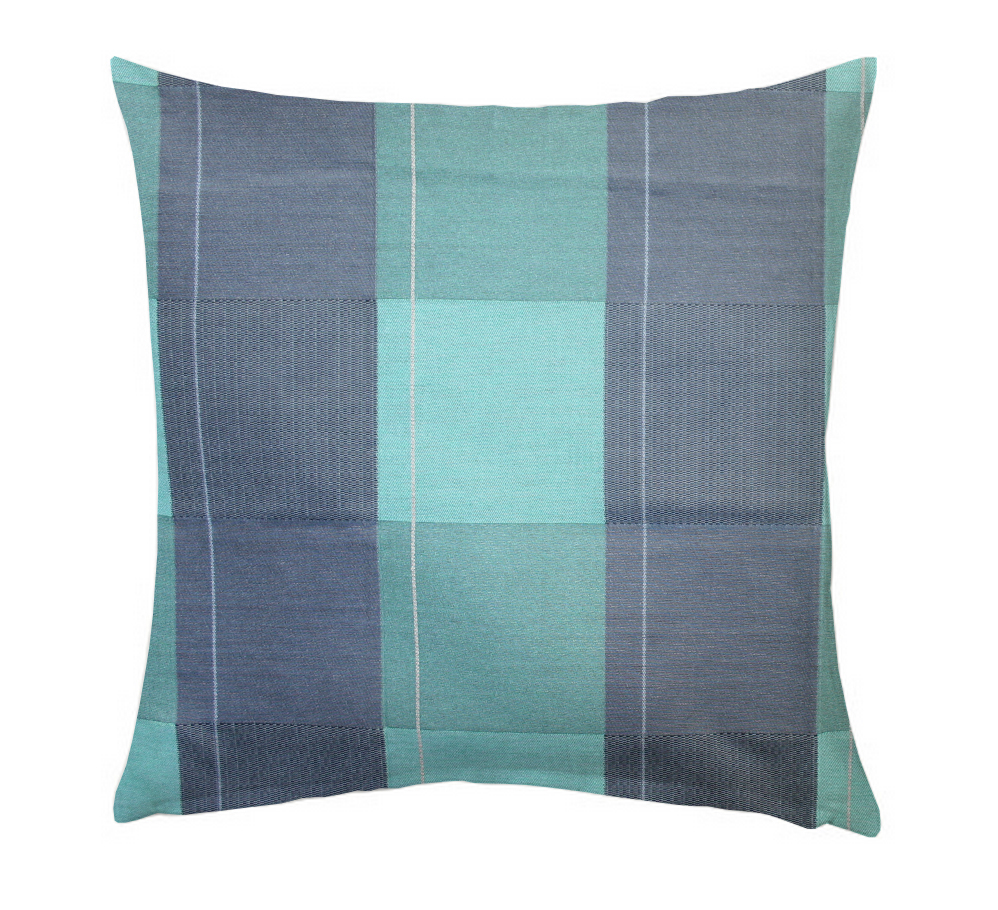
This tutorial covers how to apply a WOVNS color palette to your design in Photoshop.
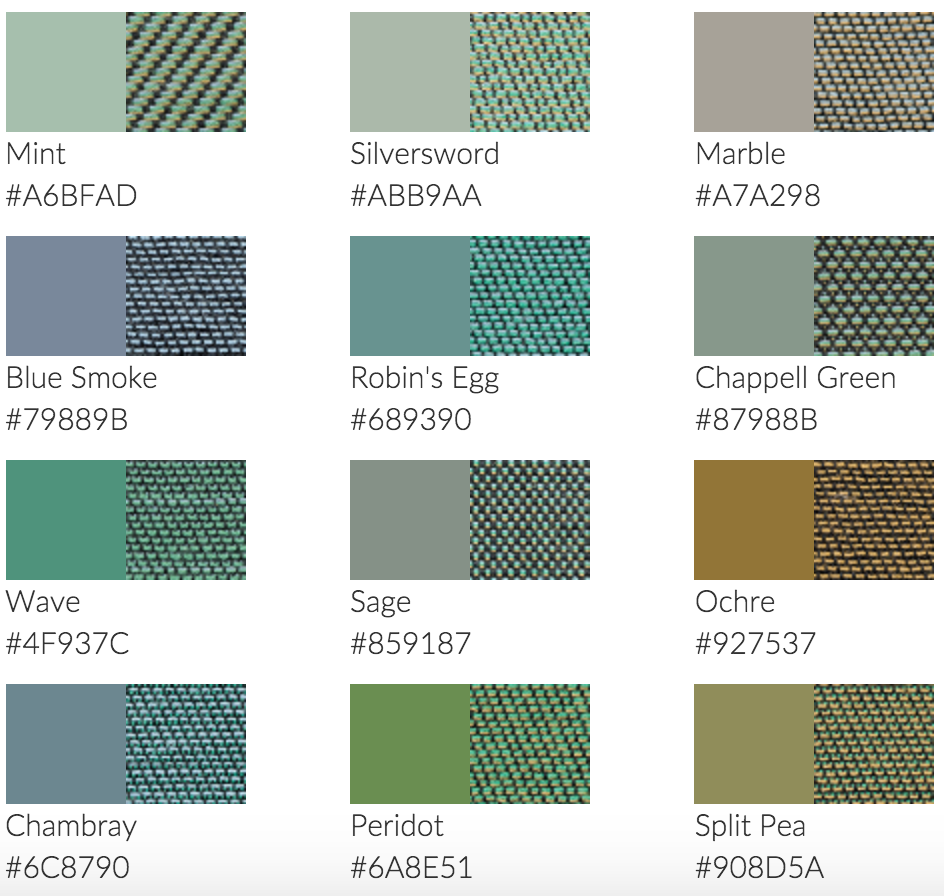
First, select a WOVNS quality and color palette.
*Note: you can create your design in Photoshop, or import a design created in Illustrator. The Gimp (free) and Processing are other platforms available for pattern creation. See our tutorials on creating repeats for more on how to create your design.
Step 2.
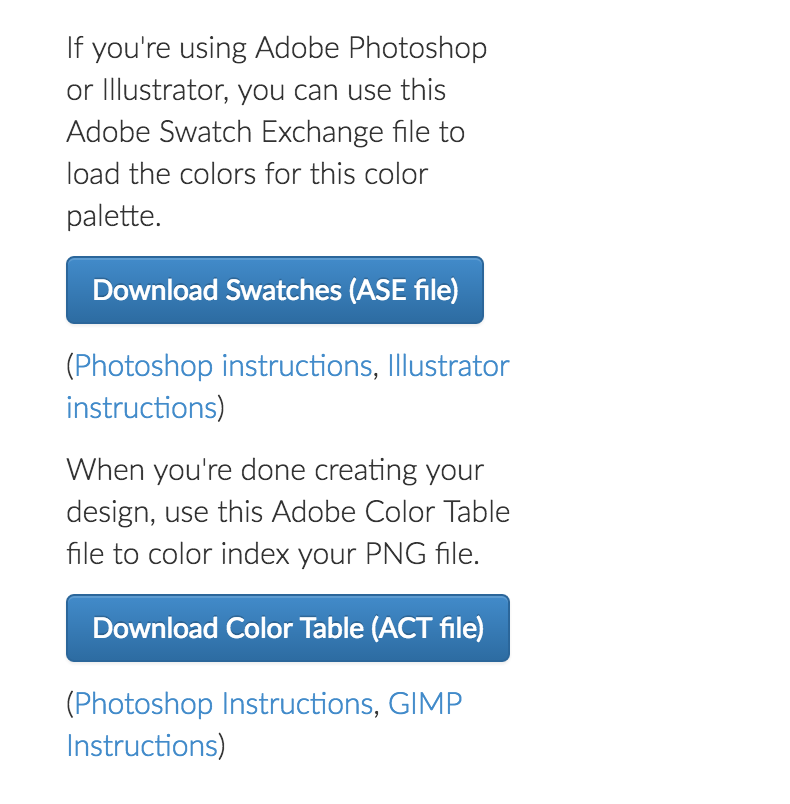
Download the swatches (ASE file) and color table (ACT file) associated with the WOVNS quality and color palette of choice.
The ASE file will be loaded to the Swatches menu in your Photoshop file for easy color management of your design.
The ACT file will be used to index your design before submitting.
*Note: upon download, these files will be saved to the Downloads folder on your computer. You can keep them there for now or move them to a preferred location.
*Note: loading the ACT file is an optional step used to ensure that only colors from a WOVNS palette exist in your finalized file, thereby preventing potential error messages upon upload. See Step 7 for details..
Step 3.
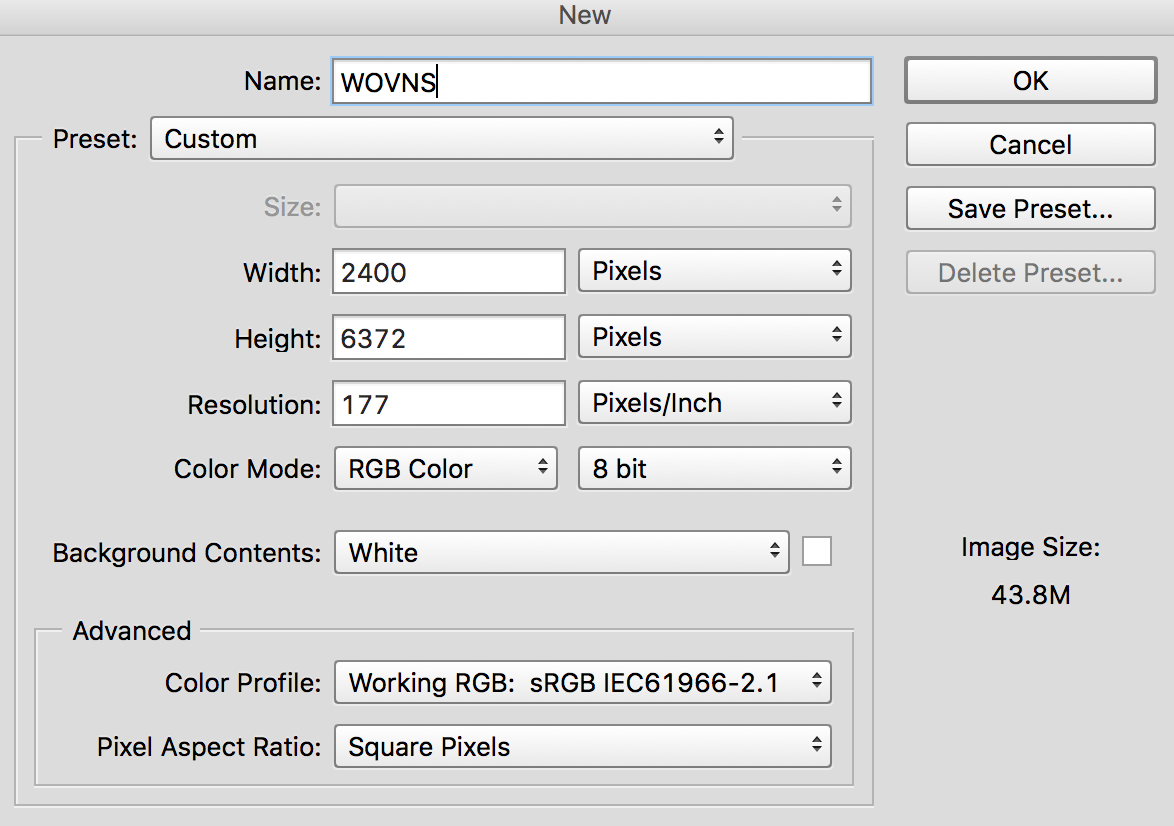
Open a new Adobe Photoshop file and input the file specifications for the WOVNS quality that you have selected. In this example, we have set the file specifications to the Divan quality: 2400 pixels wide x 6372 pixels high, DPI: 177.
Set the Color Mode to RGB Color. The Color Profile should be set to sRGB.
Step 4.
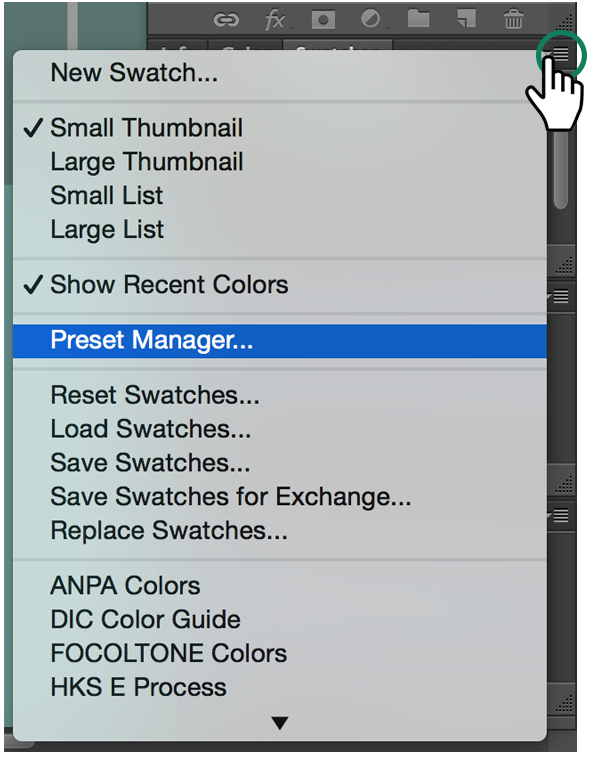
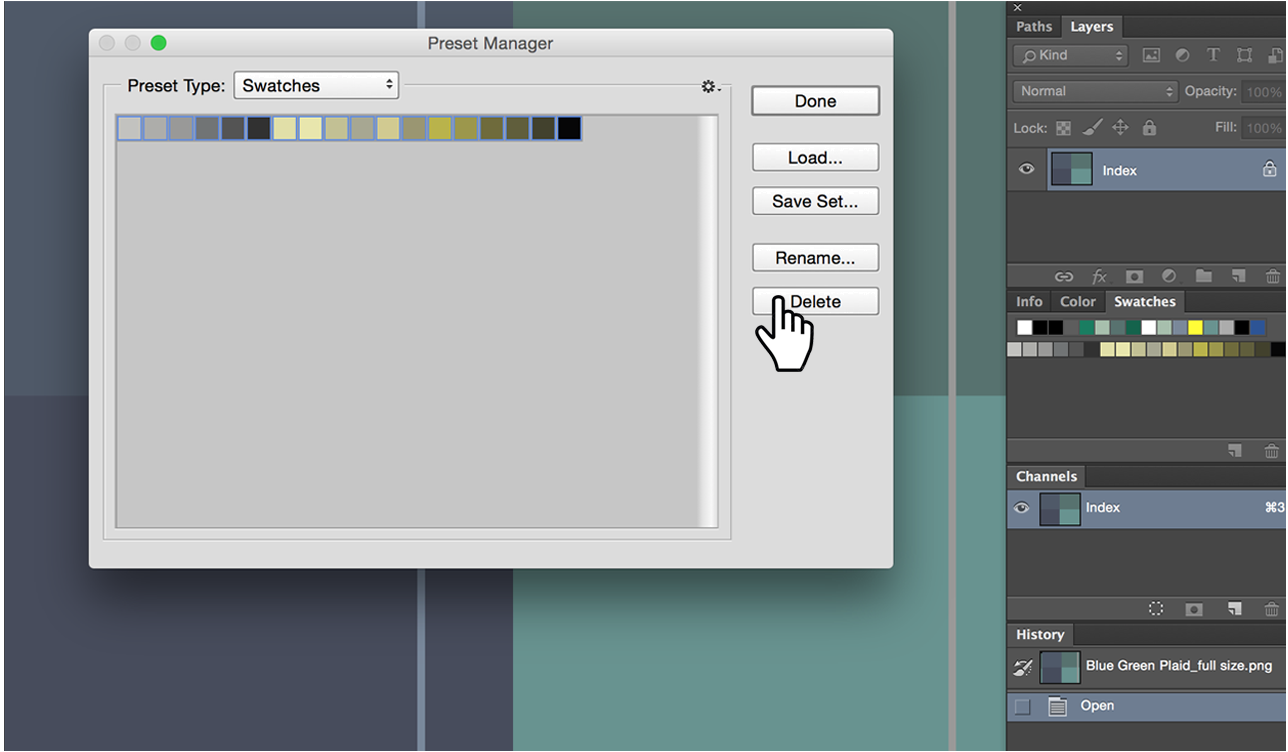
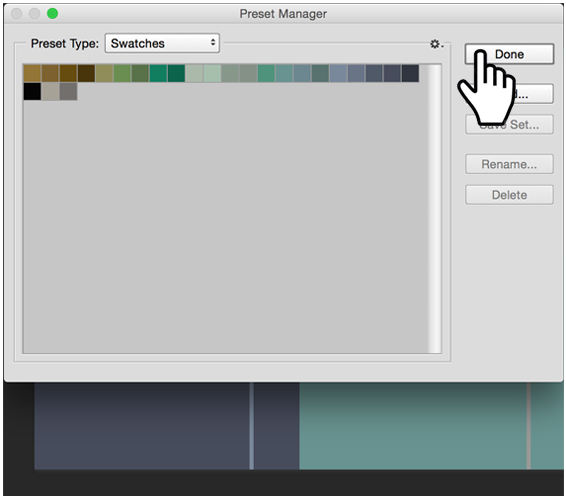
In preparation for loading your chosen swatch file (ASE), you will need to clear the existing Swatches menu. To accomplish this, click on the drop-down menu located within the Swatches menu (upper right hand corner of the Swatches menu). Go to Preset Manager, select all of the colors (Ctrl + A), and press Delete.
Step 5.
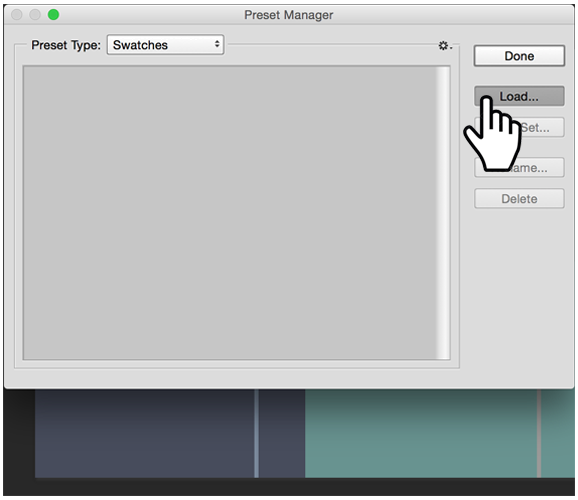
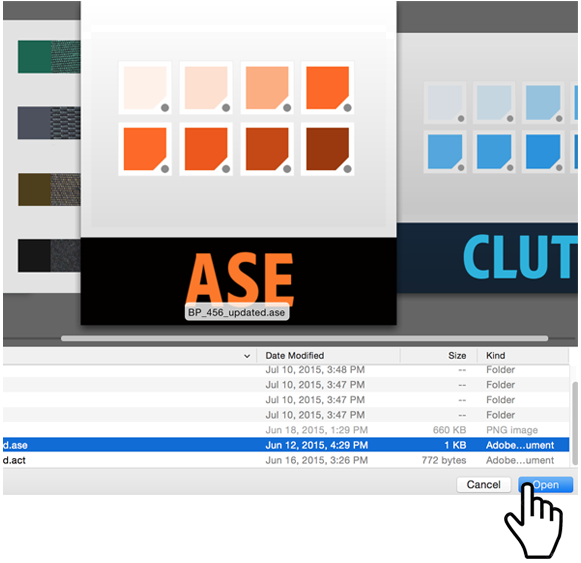
Now, click “Load” to load the swatches associated with your chosen color palette (ASE file). Open the ASE file that you downloaded in Step 2 and click “Done”.
Step 6.
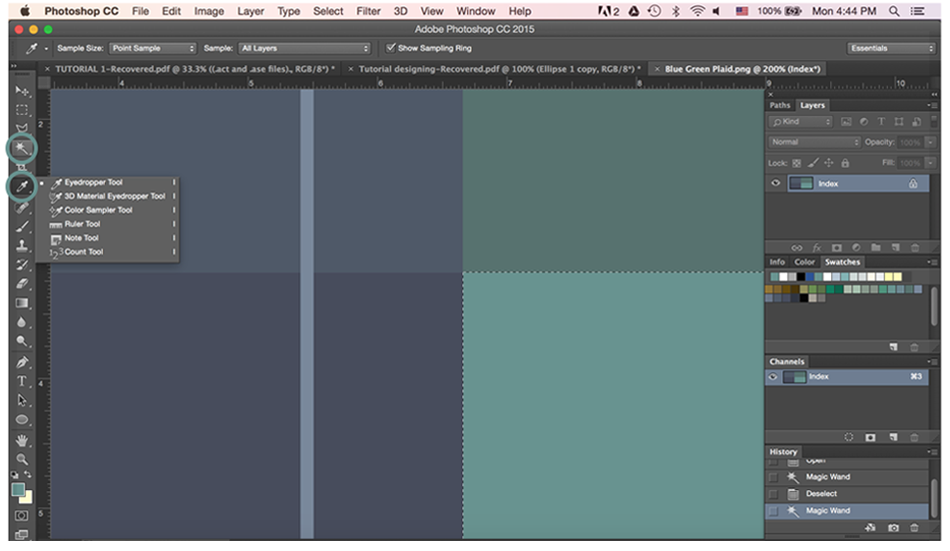
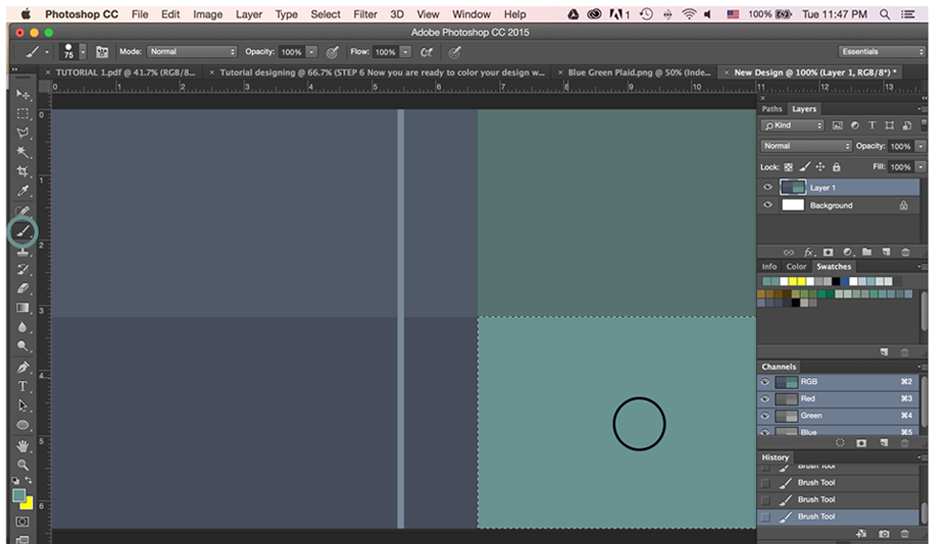
Once you have created your design, you are ready to color it with the WOVNS color palette you have loaded to your Swatches menu. Use the eyedropper tool to select a palette color from the Swatches menu. Next, use the magic wand tool to select the area of your artwork that you would like to color and fill it in using the brush tool. Continue filling in areas until you are satisfied with the coloration of your design.
*Note: your finalized design can only uses colors from your selected WOVNS palette.
Step 7.
When you are finished coloring your design, you are ready for the optional step of indexing your design. Indexing ensures that only colors from a WOVNS palette exist in your finalized file, thereby preventing potential error messages upon upload.
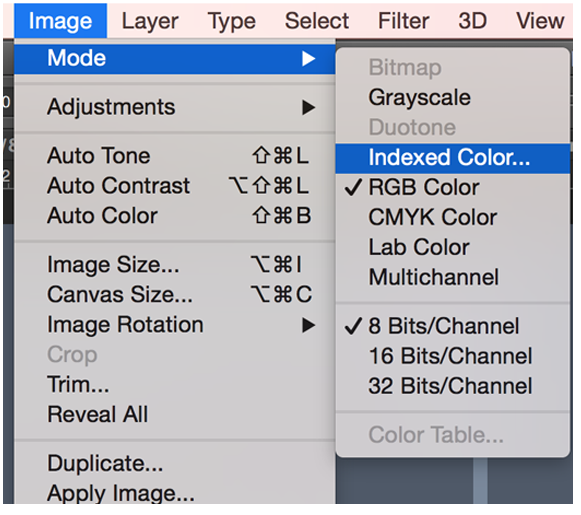
First, make sure your design is flattened: go to Layer > Flatten Image. Next, go to Image > Mode > Indexed Color.
Step 8.
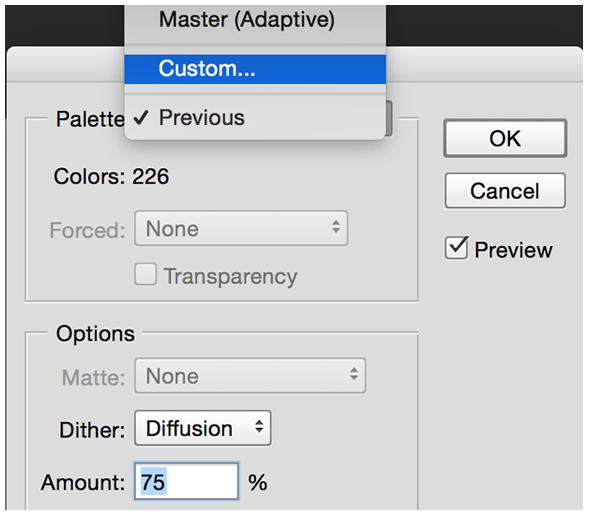
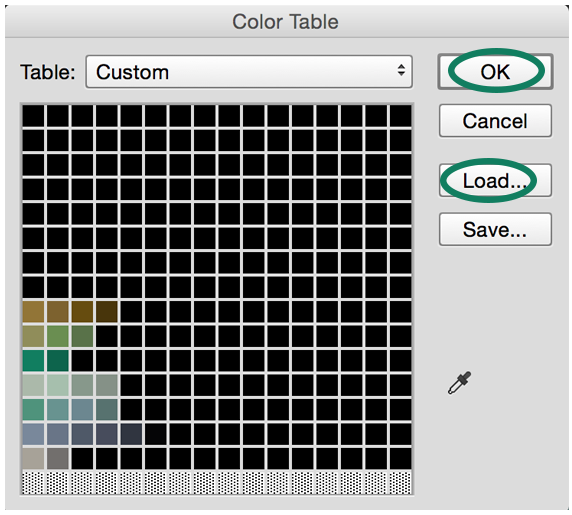
The Indexed Color dialogue box will now appear. Click on the Palette dropdown menu, and select “Custom”. The Custom Color Table will appear. Click “Load”, and load the ACT file corresponding to the WOVNS Color palette you have used (downloaded in Step 2). Once loaded, click “OK” and your file should now be properly indexed.
*Note: regardless of the number of colors from a palette you have actually used in your design, you do not need to alter the loaded Color Table in any way.
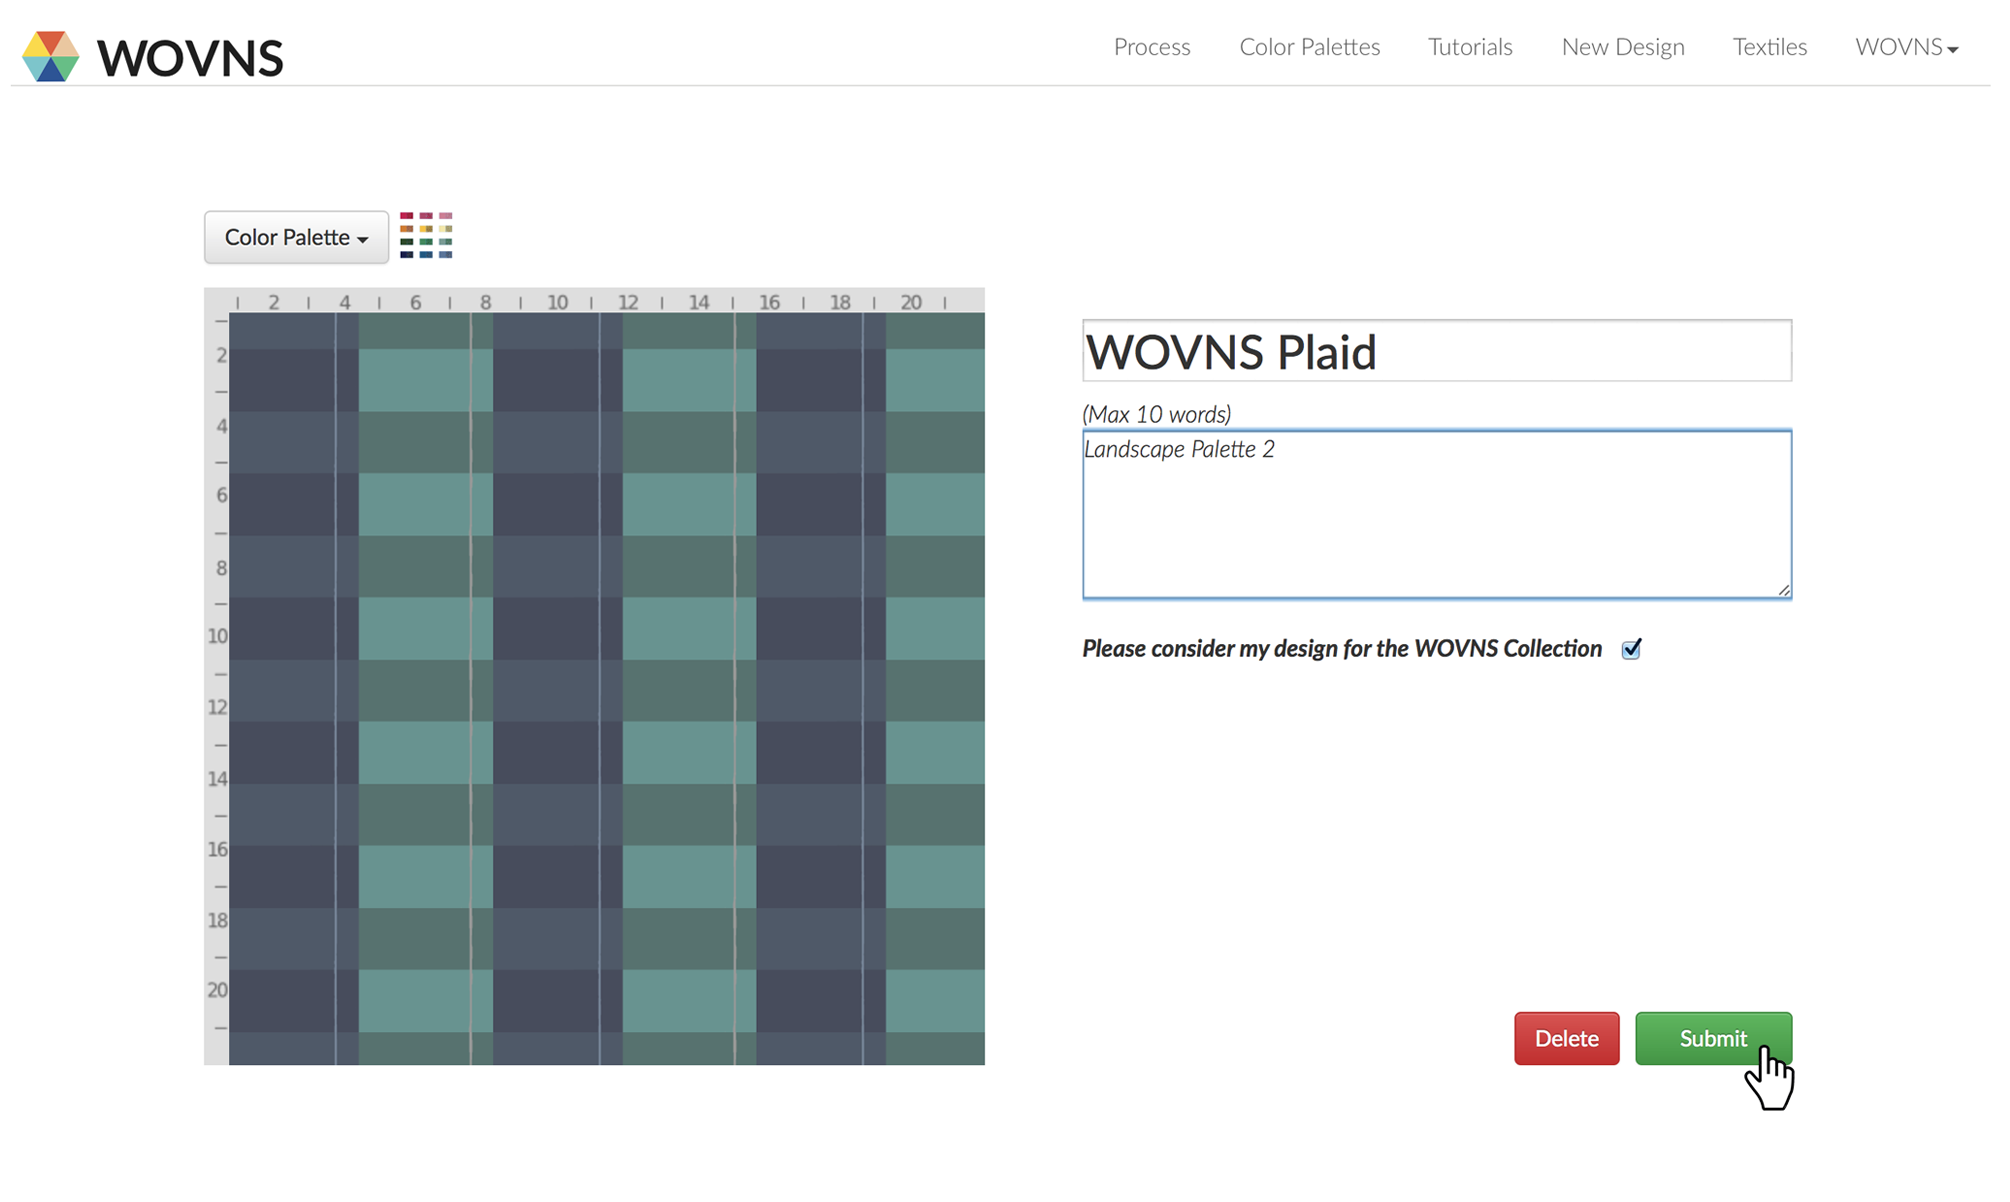
Step 9.
Save your file as a .PNG, and upload it to WOVNS: click “Create” (located on the upper right of the WOVNS homepage) and select “Submit Design” in the dropdown menu. Upload your file, name, tag it, and submit!.