Preparing Files for WOVNS with the GIMP
Overview
This tutorial shows you how to use the GIMP to prepare your design files for uploading to the WOVNS platform. The GNU Image Manipulation Program (GIMP) is a free, cross-platform image editor. Here, we show you how to color index your design file using the GIMP in order to upload it to the WOVNS platform. This assumes that you’ve already downloaded and installed the GIMP and created your design as a PNG file with the correct dimensions (as found on the WOVNS specifications page).
Step 1. Download your WOVNS Color Palette
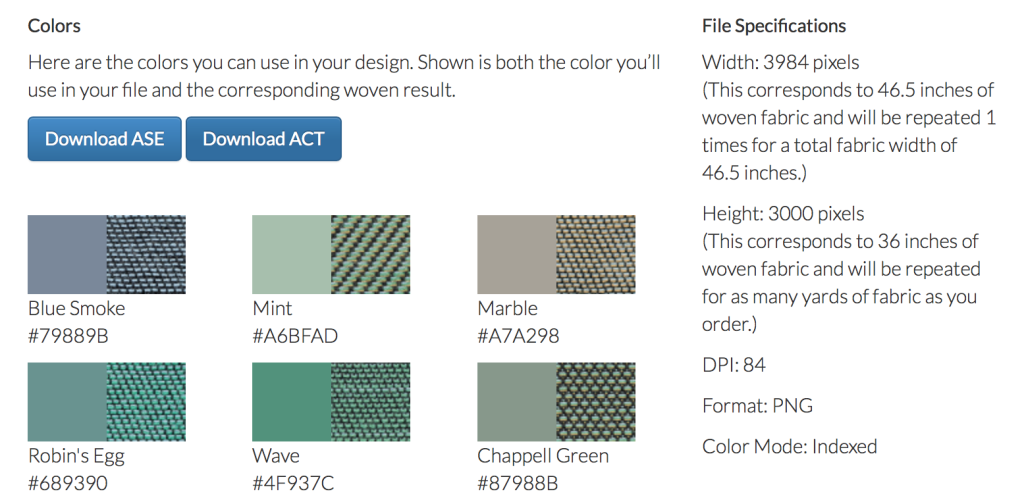
First, find the color palette you want to use on the WOVNS Quality and Color Palettes page. Then click Download ACT to download the WOVNS color palette you’ll be using to index your file.
Step 2. Open the Palettes Dialog in GIMP
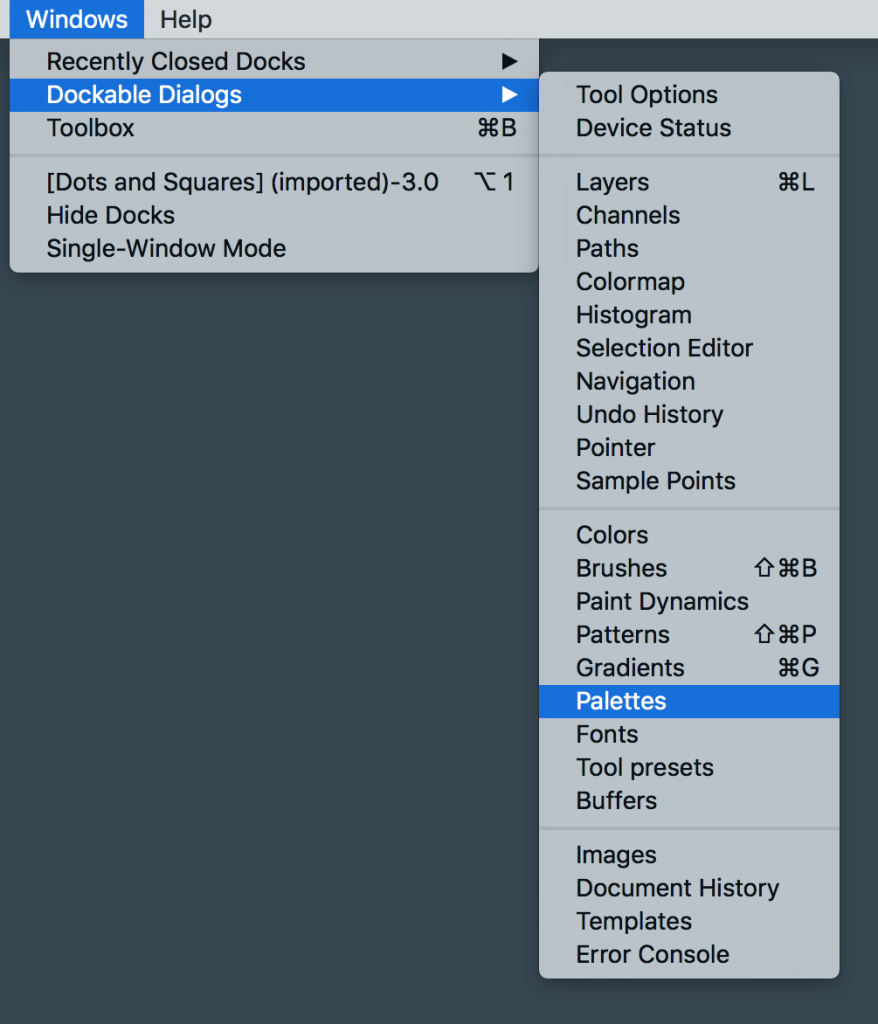
Run the GIMP and open the Palettes Dialog by going to Windows > Dockable Dialogs > Palettes.
Step 3. Import Palette
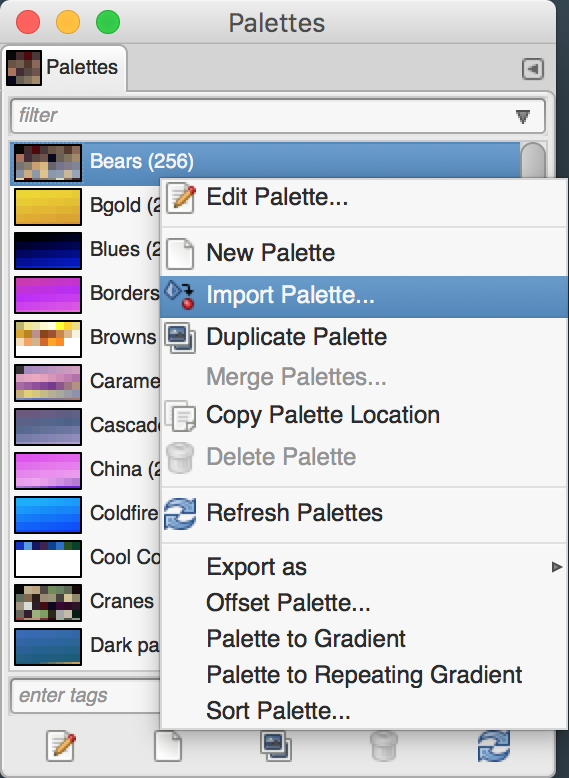
Right-click on one of the items in the palettes dialog and select Import Palette….
Step 4. Import the WOVNS ACT File
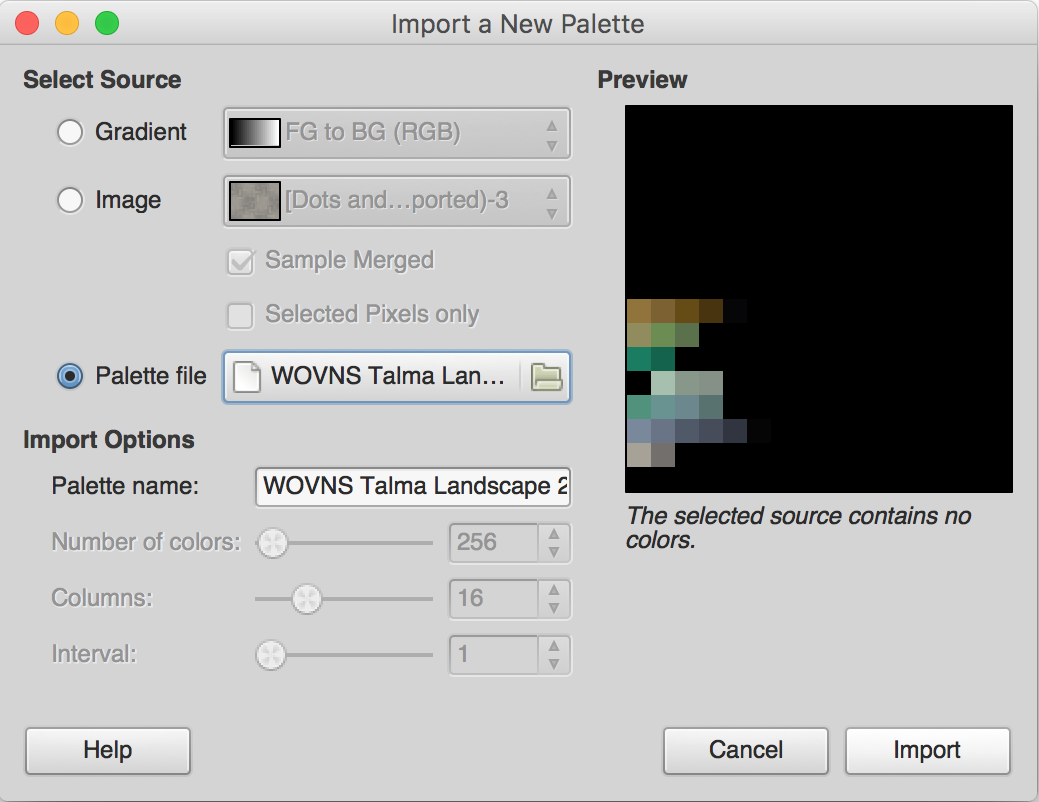
Under Select Source, check Palette File and click the adjacent file selection button (which should say “(None)”). Select the ACT file you downloaded in Step 1. Click the Import button.
Step 5. Open Your Design File (PNG)
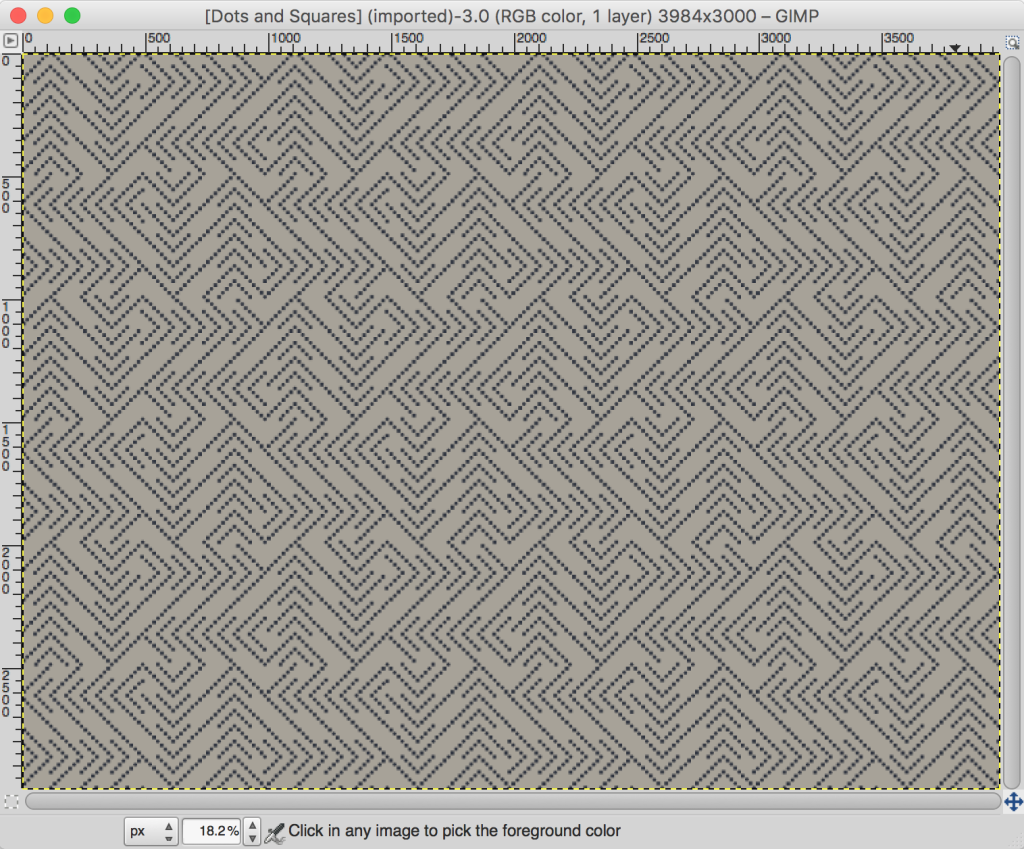
Open the PNG file that you want to color index by going to File > Open.
Step 6. Set Your File to Indexed Color Mode
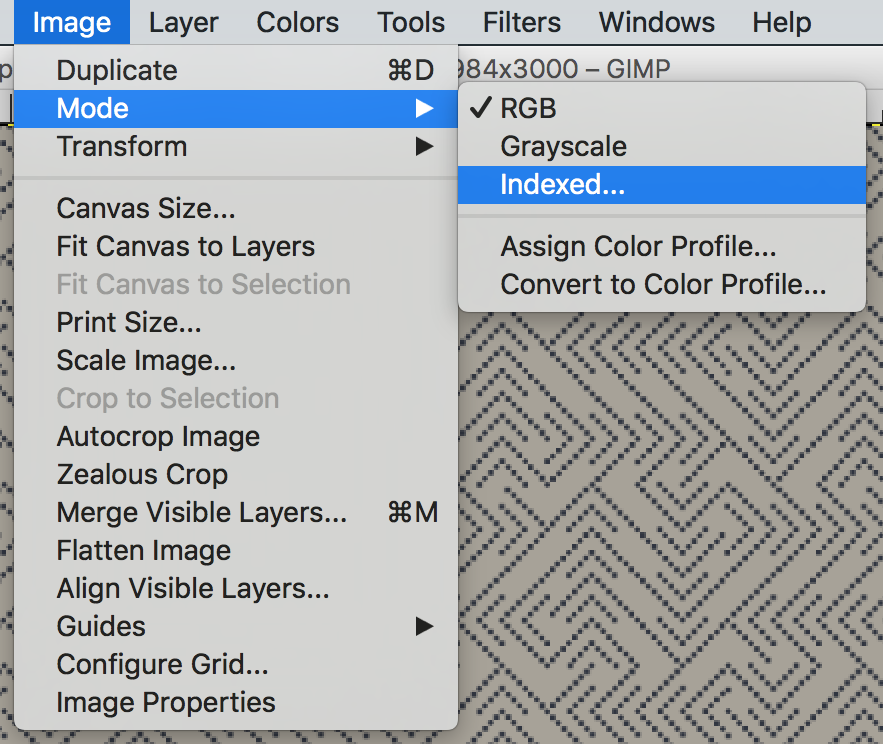
From the Image > Mode menu, select Indexed….
Step 7. Select the WOVNS Color Palette
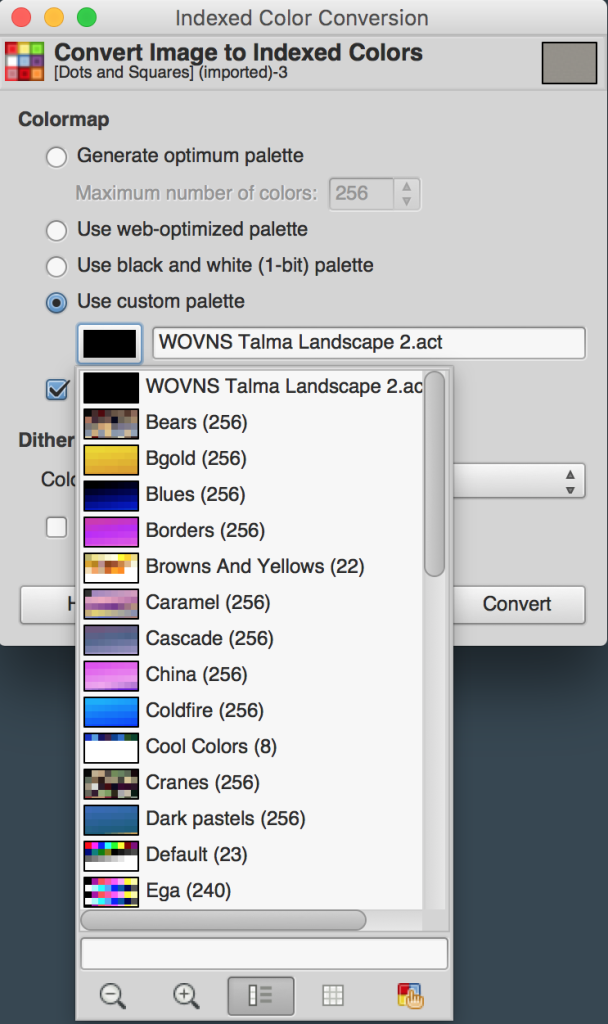
In the Indexed Color Conversion dialog, select Use Custom Palette. Then click the icon and select from the drop-down list the WOVNS color palette you imported in Step 4.
Step 8. Uncheck “Remove Unused Colors from Colormap”
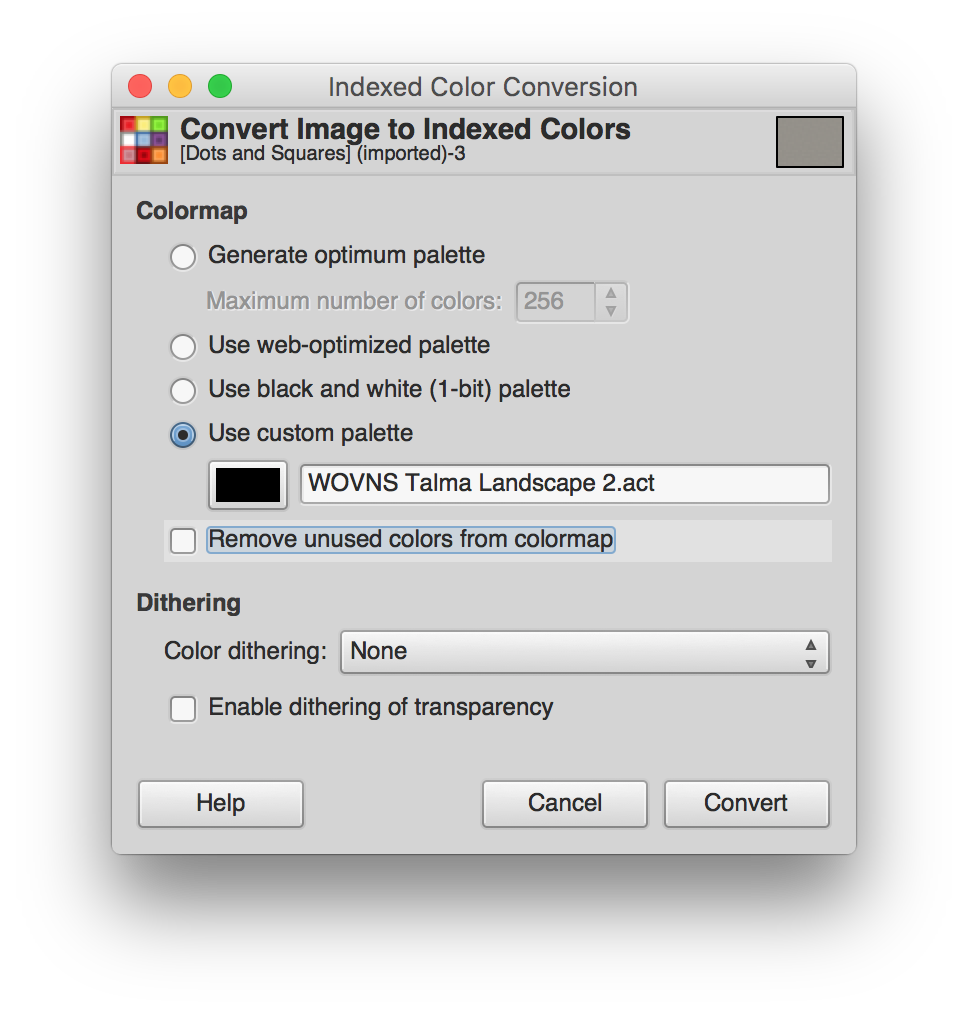
In the the Indexed Color Conversion dialog, uncheck Remove unused colors from colormap. Then click the Convert button to index your PNG.
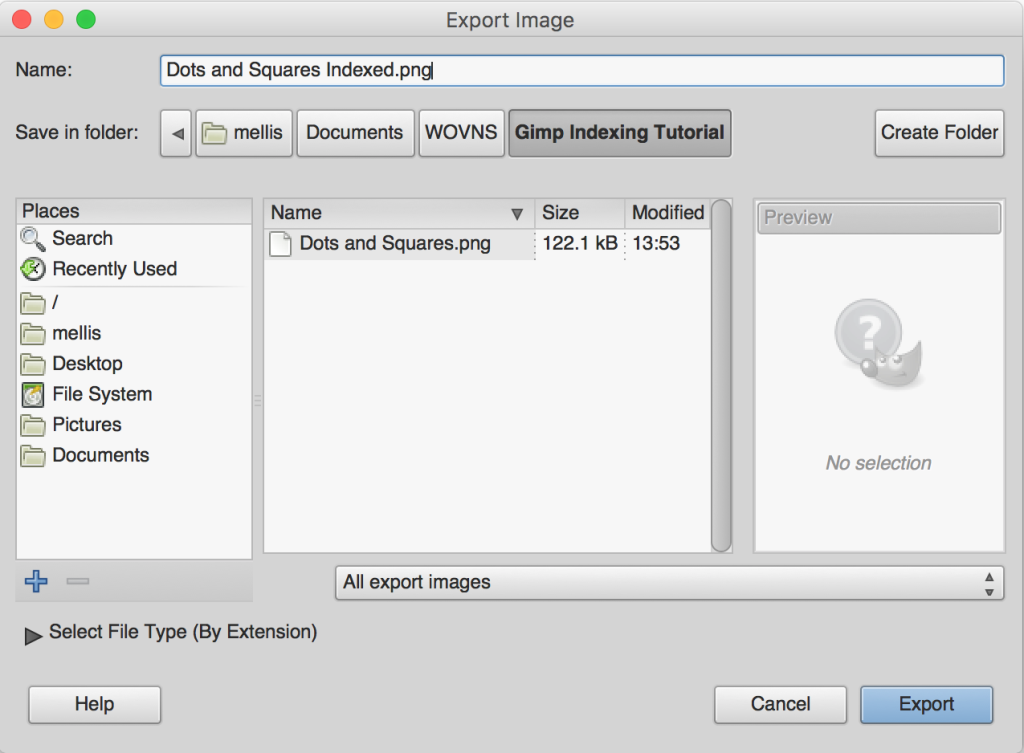
Step 9. Save Your Indexed PNG
To save your indexed PNG, select File > Export As. Give your file a name (ending in “.png”) and click Export.