Cleaning a Scanned Drawing or Image

Requirements: Adobe Photoshop

Difficulty: Easy

Time: Varies
Step 1.
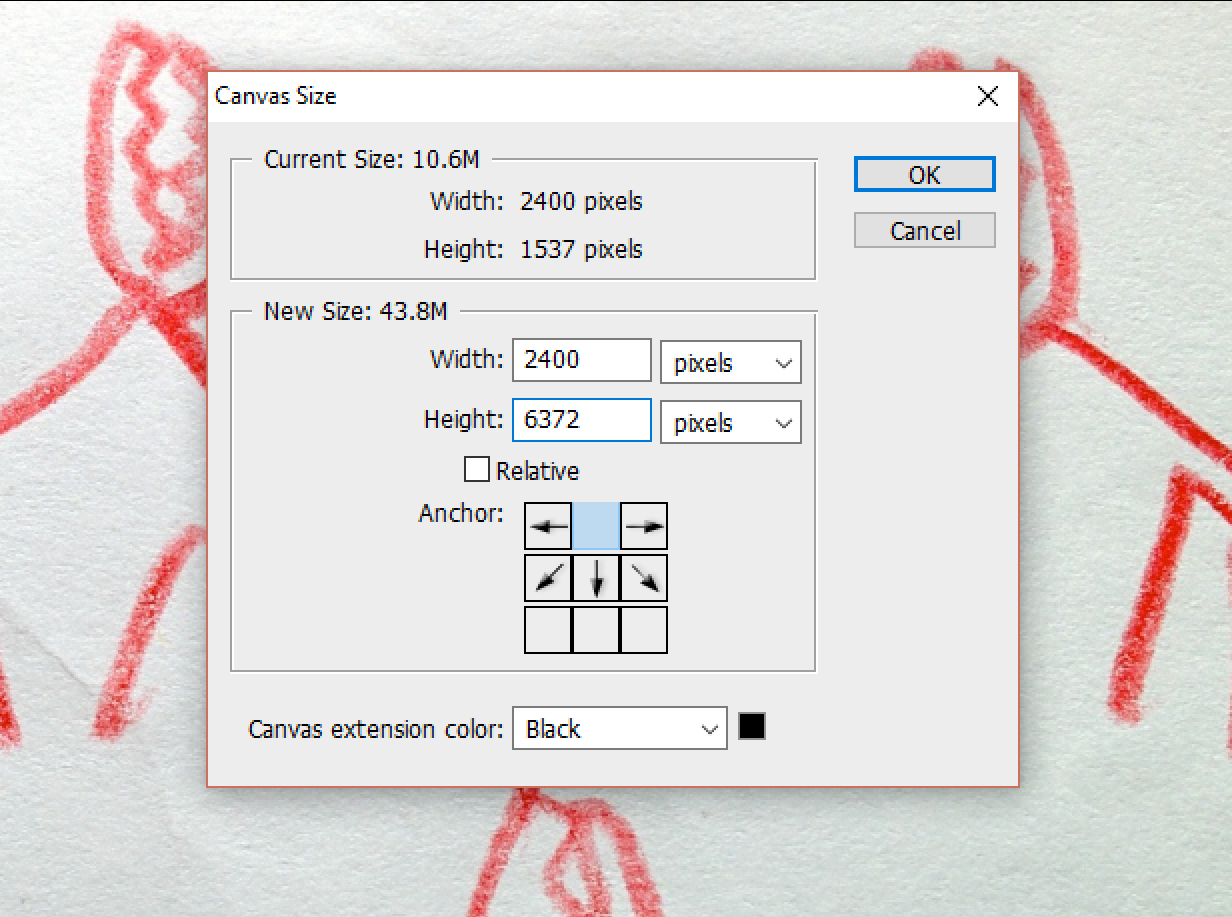
Open your scanned drawing and set your canvas size to the file size requirements for either the Divan or Talma Qualities. For this tutorial, we are setting the canvas size to 2400×6372 dpi to accommodate the Divan Quality. We’ve also set the image size (Image > Image Size) to be 2400 px wide to fit the width of the canvas, and set the image resolution to 177dpi.
Step 2.
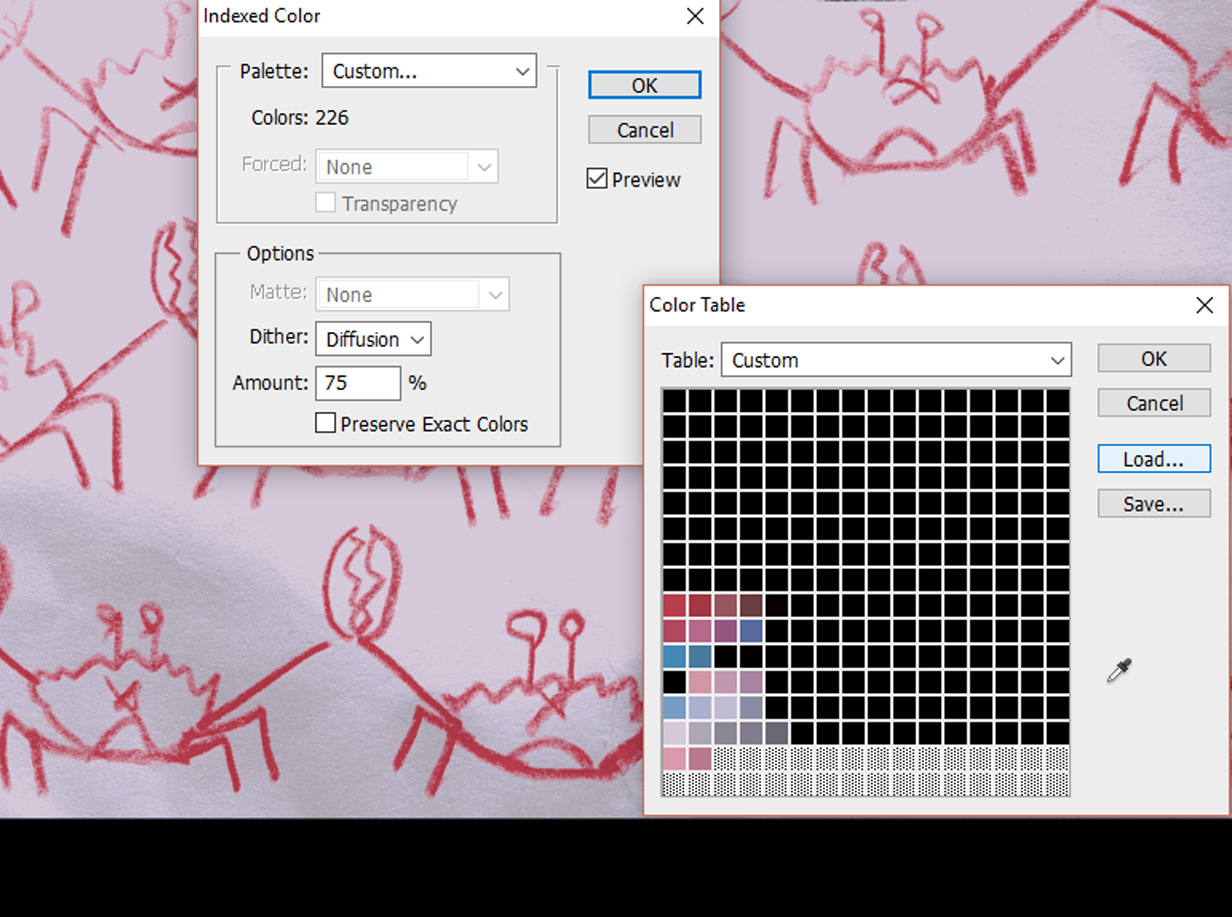
Working in Indexed Color mode (Image > Mode > Indexed Color) proceed to load your selected WOVNS palette .act file. (For more details on loading your color palette, see the Designing with WOVNS Color Palettes in Photoshop tutorial.)
Step 3.
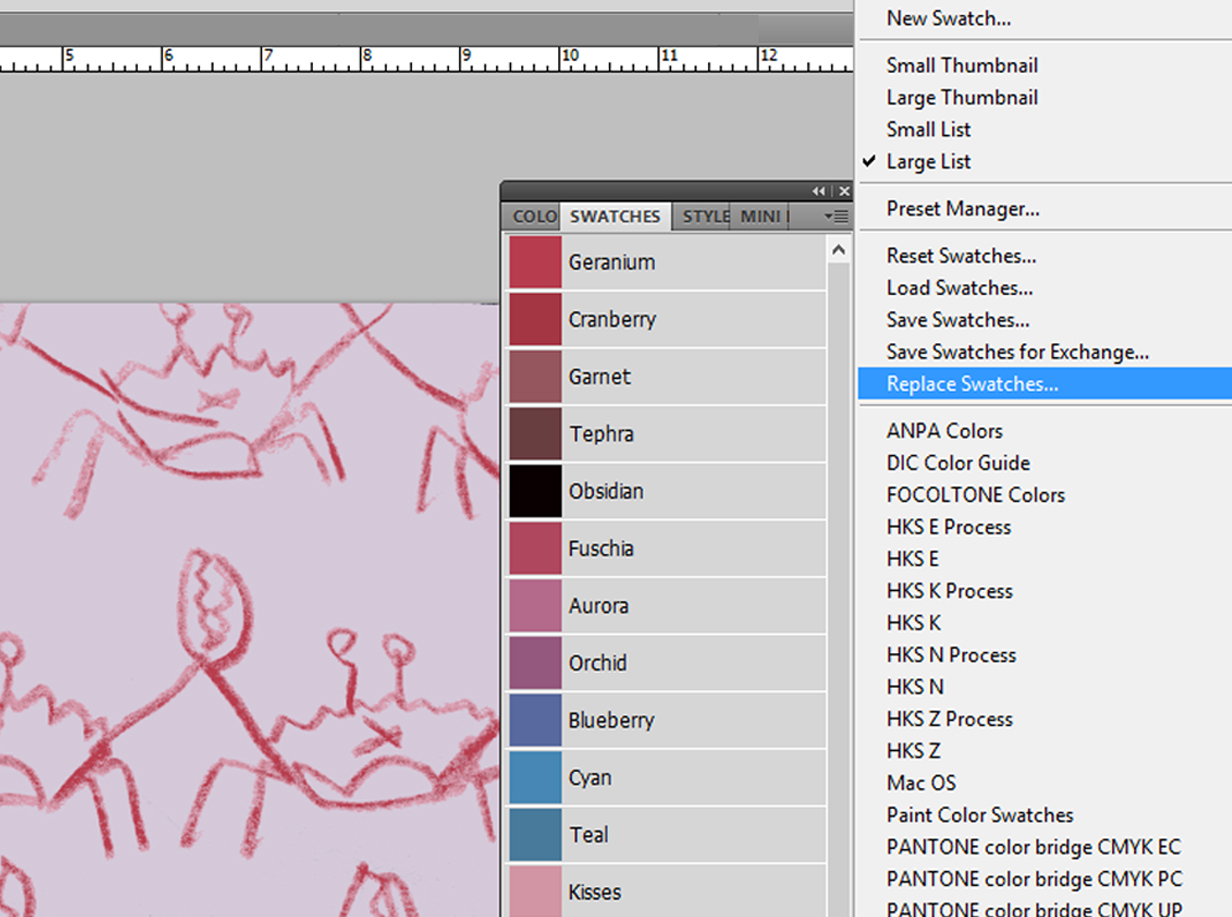
Open the swatches menu (Window > Swatches) and click on the downward arrow in the upper right of the menu (circled) to open up you swatches list. Click on “Replace Swatches” and proceed to load your .ase swatch exhange file for your chosen palette.
Step 4a.
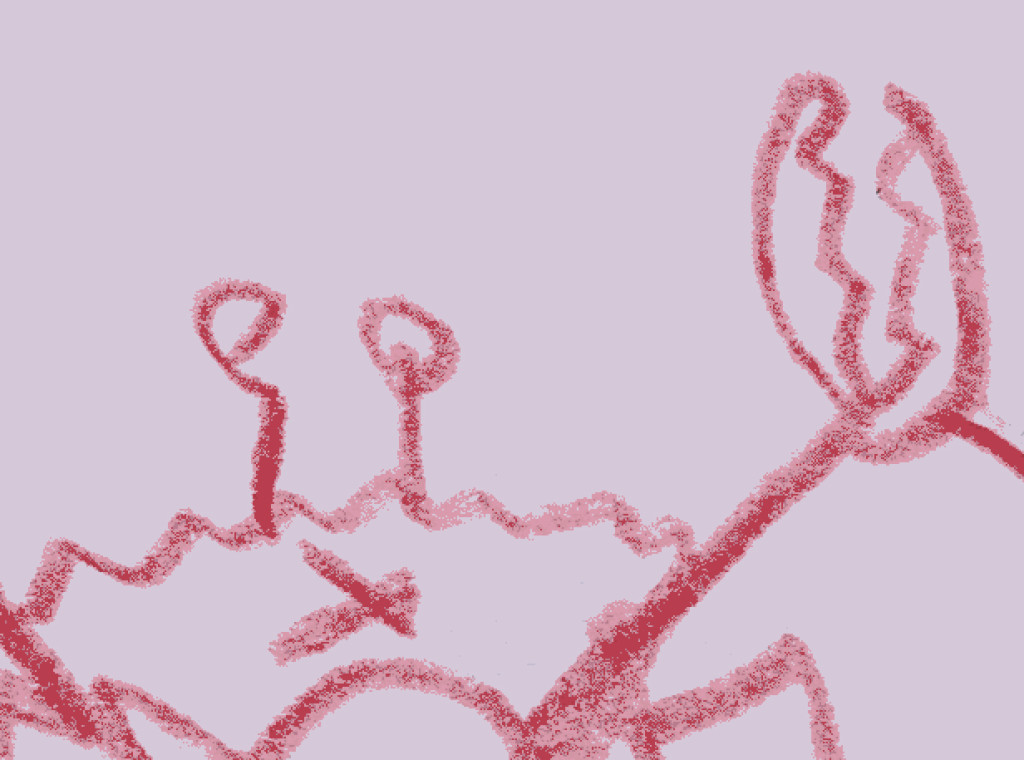
You’ll notice that when you load the palette .act file, various pixels in your drawing will take on colors from the palette.
Step 4b.
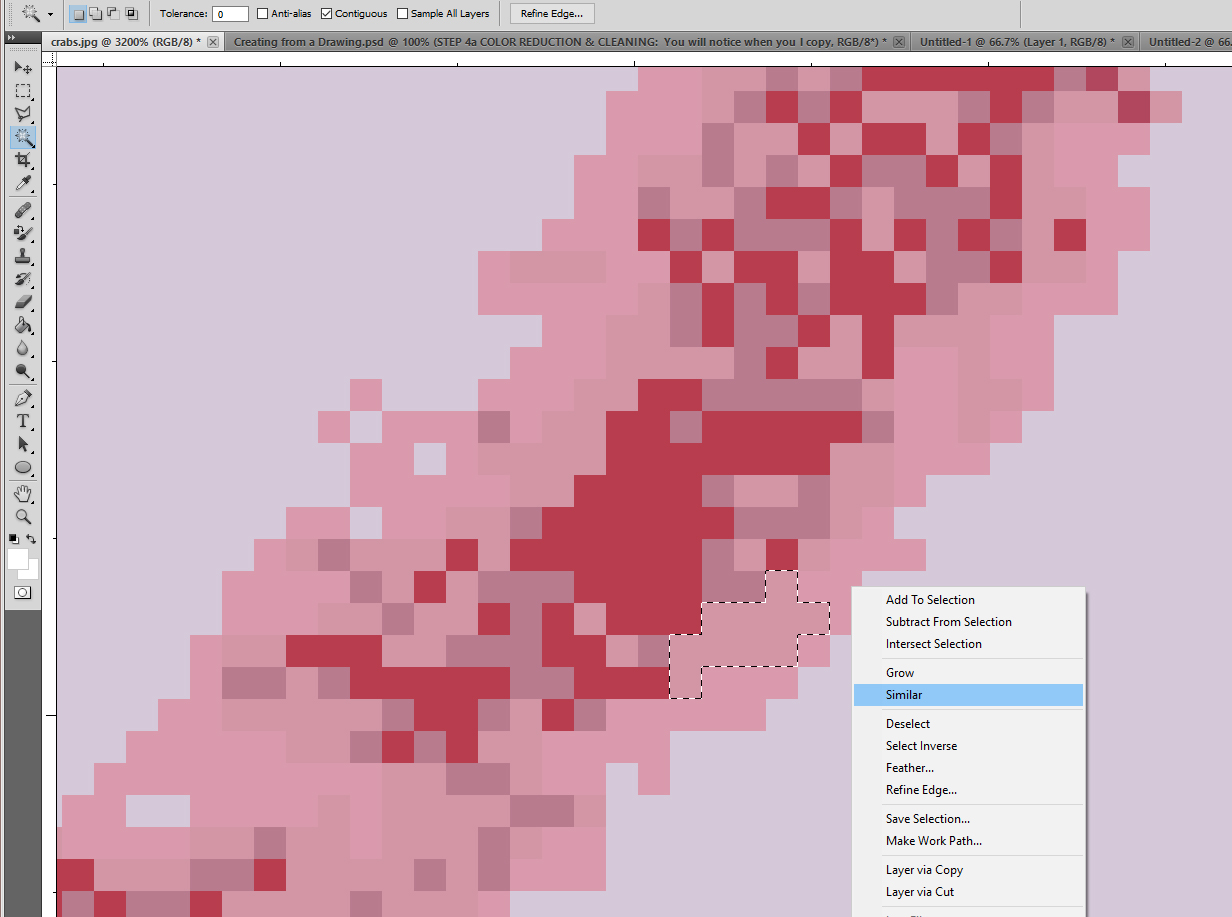
To reduce the number of colors in your design, begin by selecting a pixel featuring one color you wish to replace. Once selected, right click on that pixel which will open up a dialog box. Select “Similar” to select all pixels in your image that share the same color as the original pixel you selected.
Step 4c.
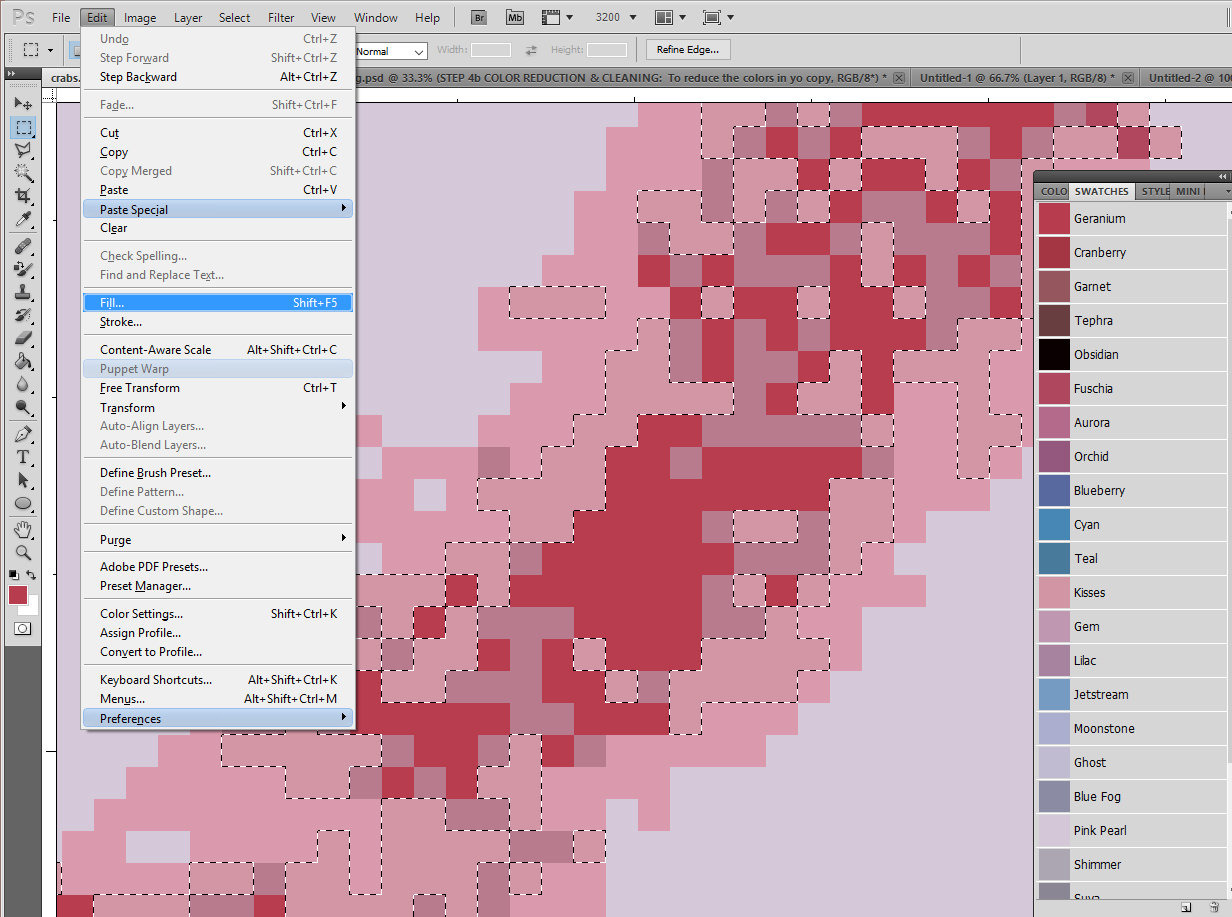
With the eyedropper tool, select a color from your swatches palette. Then proceed to fill (Edit > Fill) the selected pixels with your chosen color.
Step 4d.
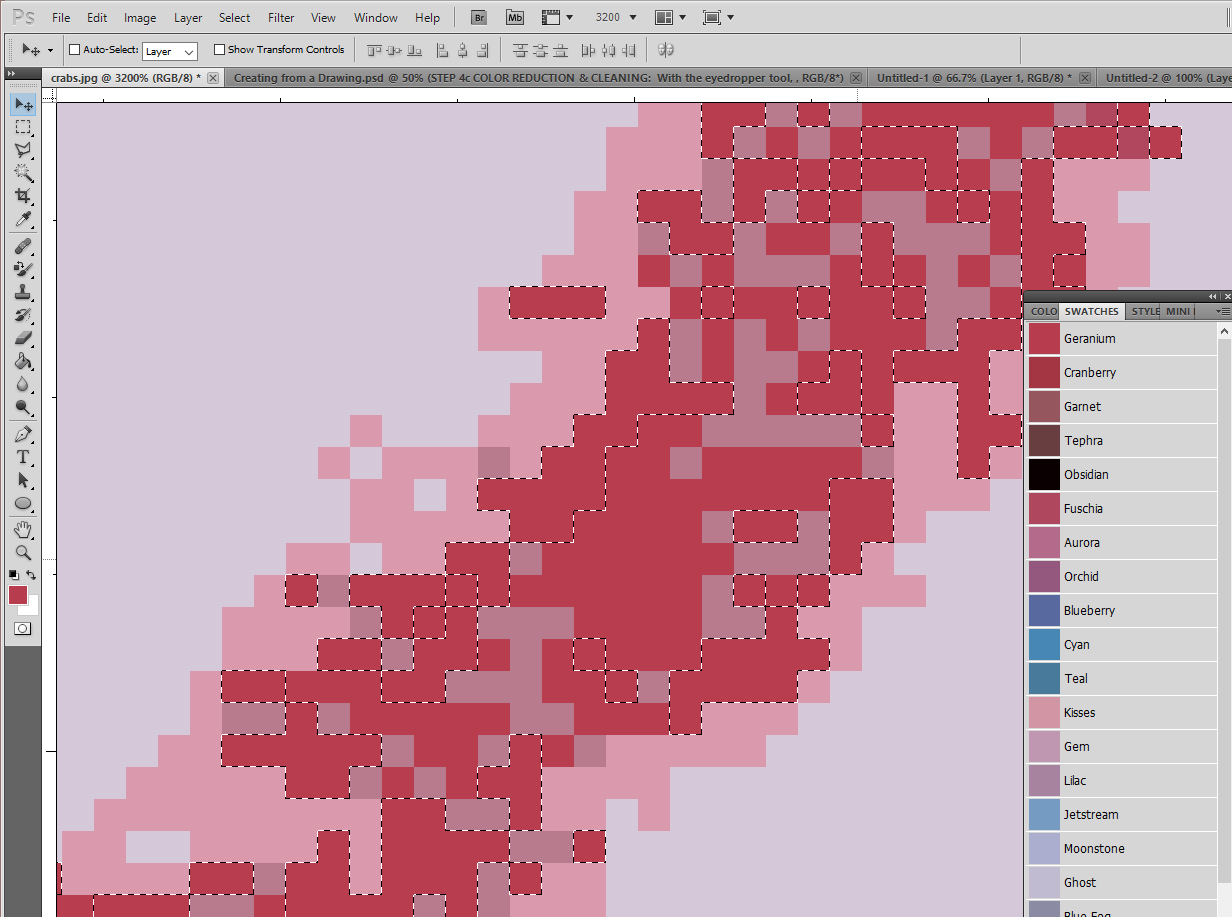
In this example, we’ve begun to fill the selected pixels with the color “Geranium”. Continue this color reduction process until you achieve the desired final colors for your design. You’ll also want to eliminate any loose, floating, or stray color pixels in your image.
Step 5a.
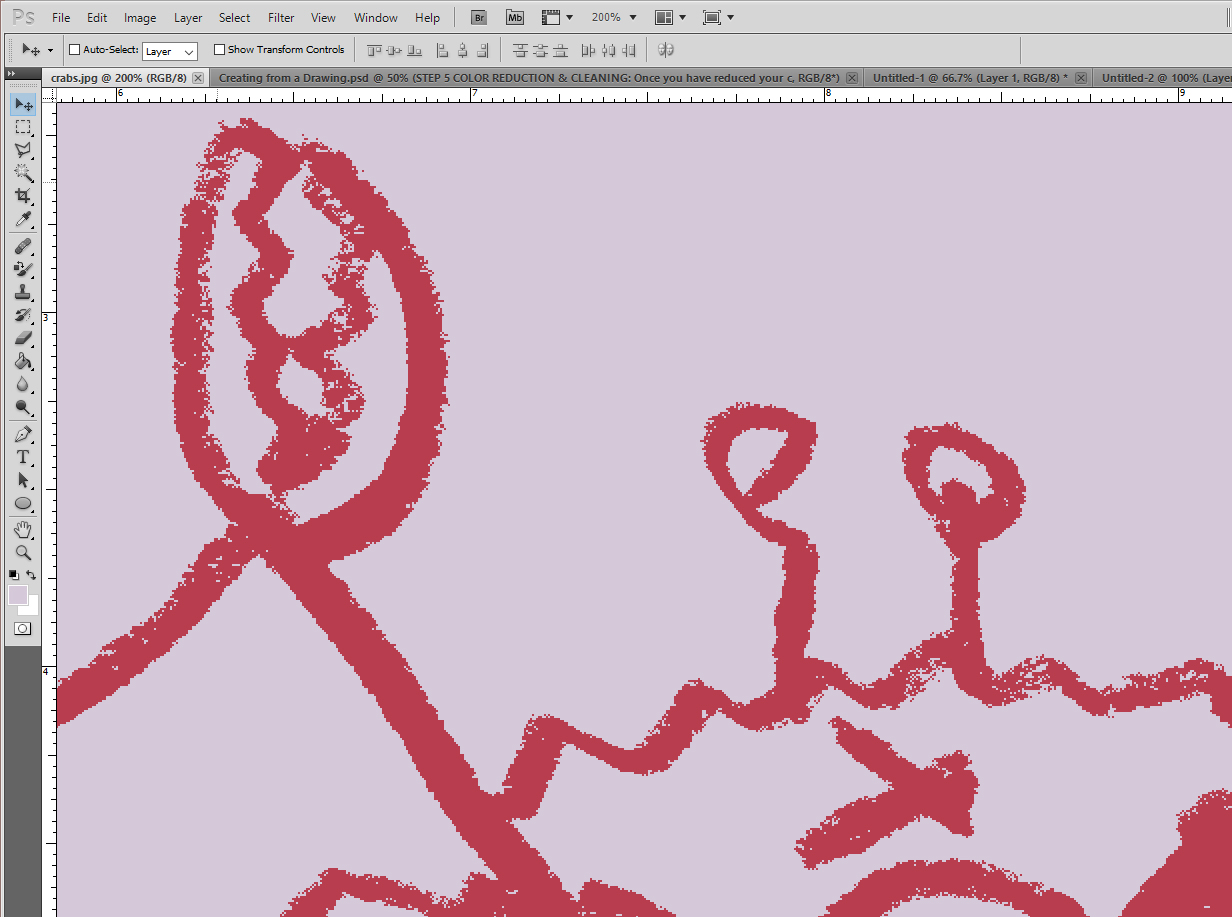
Once you’ve reduced your colors to your final choices, it may be necessary to clean up the edges of your linework and fill in any missing pixels for a clean finished fabric. It’s up to you to decide how sharp you’d like to make your lines, however. Leaving your edges “rough” will retain your drawings more original, hand-drawn quality.
Step 5b.
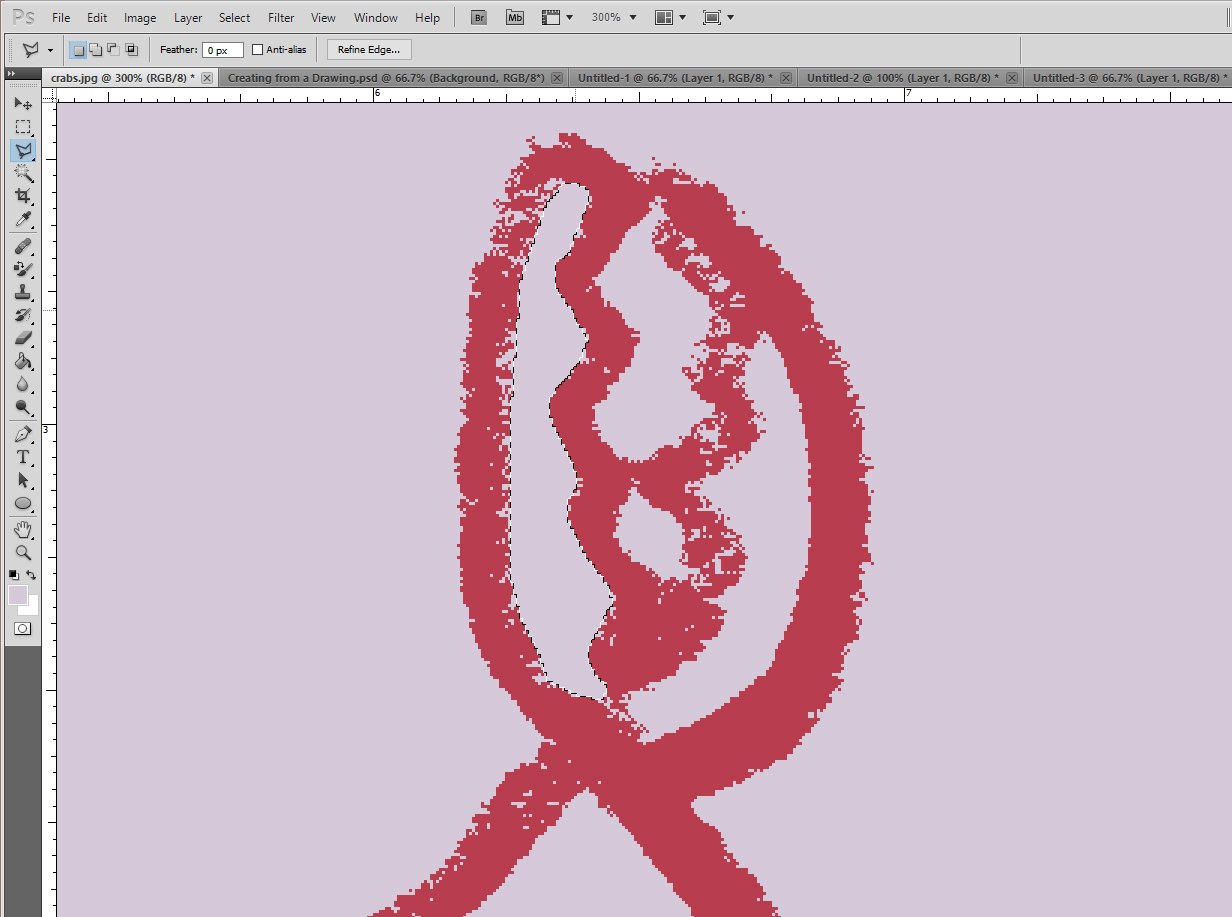
Using the lasso tool, select any non-uniform areas and fill with your desired color.
Step 5c.
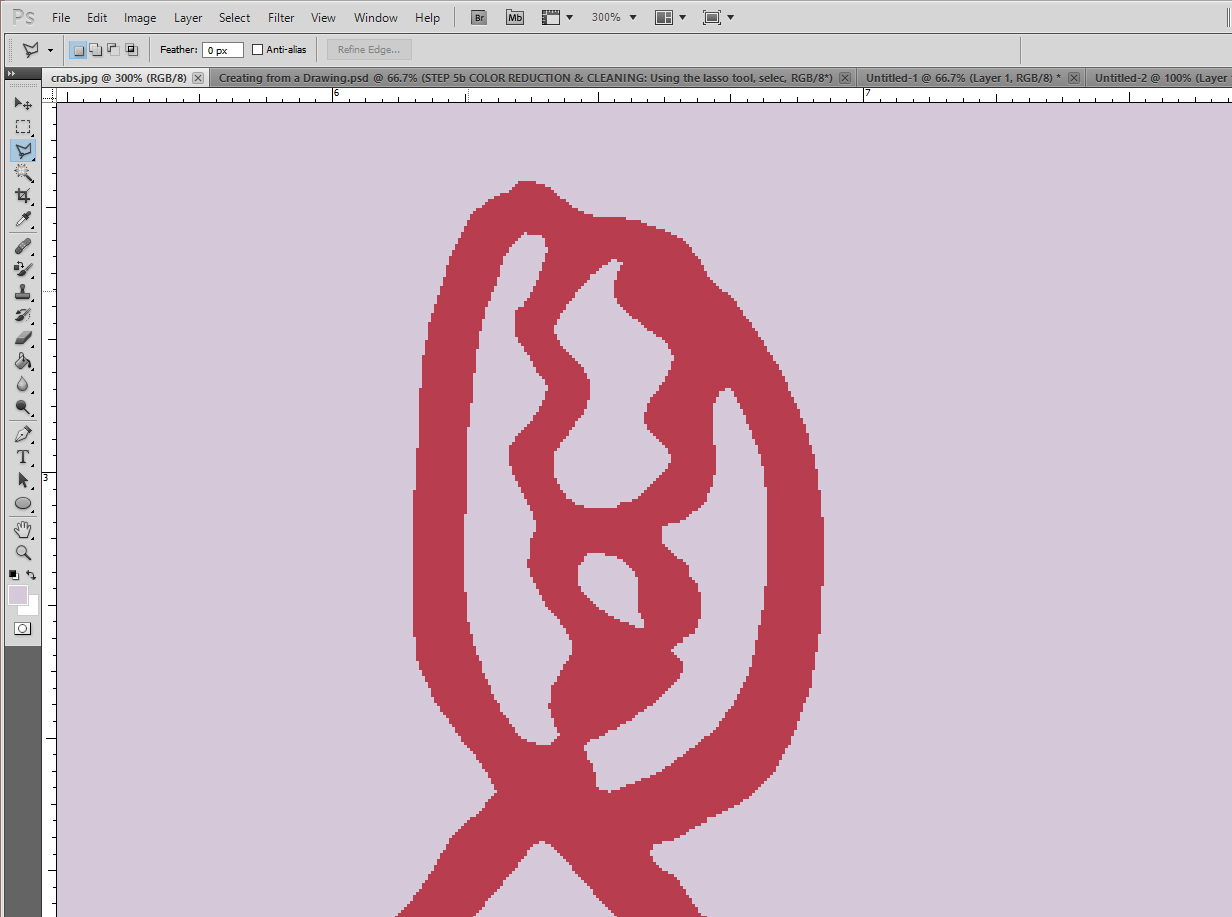
Once you’re satisfied with the clarity and color of your overall image and linework, save your file in .png format. You are now ready to move on to the next step and put your image (or components of your image) into repeat.